10 Minute Mask Tutorial
2021-03-25
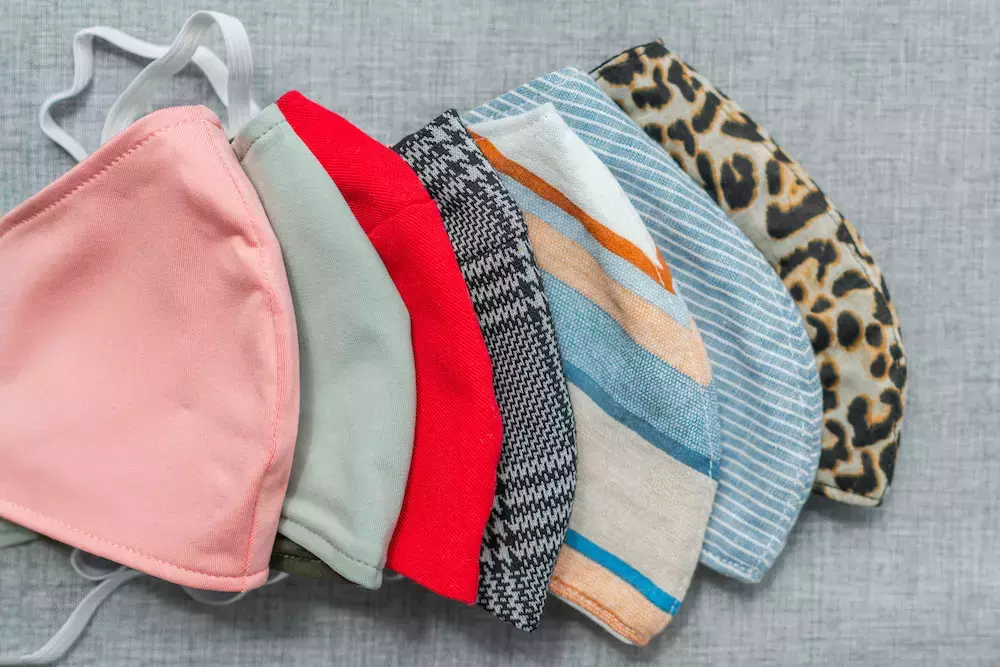
It’s been over a year and long past many state-wide 100-day efforts to flatten the curve, and masks are still around. For many of us, the first round of reusable masks has reached its moment for replacement. Don’t worry because this 10-minute mask tutorial can revive your mask stash for everyone in the family. They’re comfy, easy to make, and can be made to fit any family member or friend.
Gather Your Materials
Mask materials are fairly straightforward now, and most sewers know the drill:
- 1/4-yard of tight-woven cotton fabric in 2 prints or colors.
- Scraps of a 4-way stretch jersey fabric
- Sewing machine
- The essentials: thread, scissors, and pins
- Adhesive Aluminum Nose Bridge Strips (optional)
You can create your template through two methods. You can sketch out the “side” of a mask, leaving the wide end with a large curve and the top with a gentle slope up from the edge to the center. Or, you can take your best fitting mask and fold it in half, then trace the outline giving a generous edge for the seam allowance.
Quick and Easy Steps
- Trim your face mask pattern.
- Fold your fabric and pin the pattern into place.
- Cut around the pattern producing 2 pieces in one go.
- Repeat step #3 with a coordinating pattern or color. (You should now have 4 total face mask pieces)
- Place the matching fabrics together (right sides facing) and sew over the rounded middle part. Repeat for the other matching pieces. You now have a “front” and “back” piece.
- Cut two strips of knit fabric about 5.5 to 6-inches in length and approximately 1-inch wide. This replaces elastic as a softer but still stretchy option.
- Place the back piece, right side up, and lay a piece of the knit fabric on either side of the mask. Shape each knit piece to create a severe curve and leave the ends poking out over the edge of the fabric near the top and bottom of the side of the mask.
- Lay the top piece, right side down, over the back piece, and knit fabric pieces.
- Pin everything together.
- Sew from the bottom of the mask all the way around, leaving a 1 to 2-inch opening on one end.
- Turn the mask right side out.
- If you’re using Adhesive Aluminum Nose Bridge Strips to give the nose some structure, then size up the nose area. Insert the Adhesive Aluminum Nose Bridge Strips through the opening and use a top stitch to fix it into place.
- Close the opening.
Here it is, the easy 10-minute mask craft! Spend only a few minutes behind your sewing machine and produce a comfortable mask that’s the right size!
GoldStar Tool
Because masks aren’t going away anytime soon, we might as well enjoy the ones we have! If you have made your own mask, show us on Instagram or Facebook! We love seeing what our customers make using our tutorials. If you have any questions about our products, please contact us.


