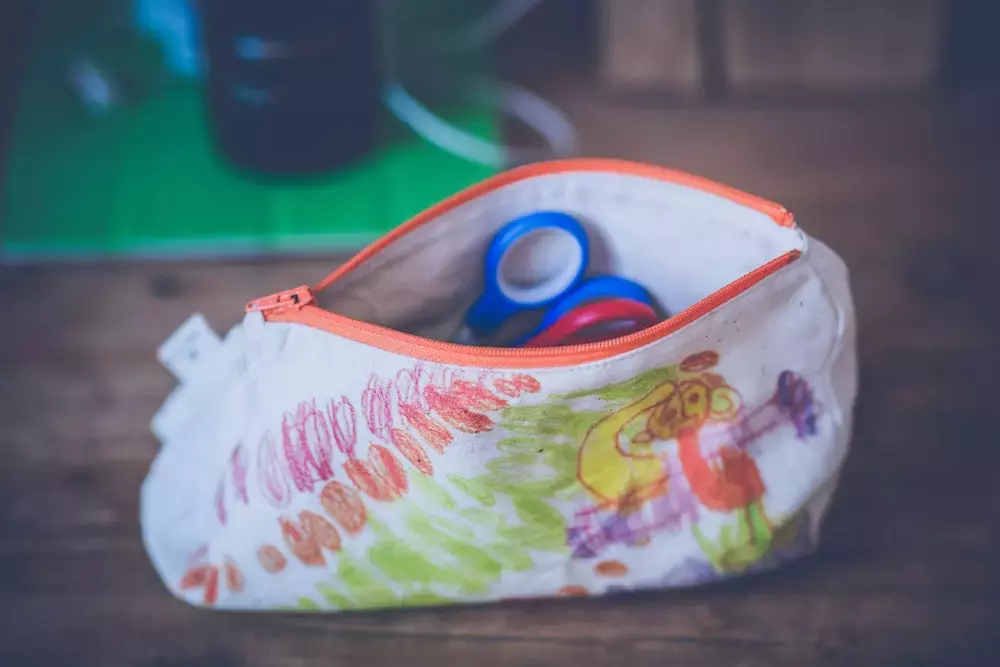
Back-to-School Series: DIY Pencil Case!
2021-08-03
It’s hard to believe that a new school year is just around the corner. For many students, gathering supplies for the year ahead is half the fun.
Instead of going to the store and picking up a pricey pencil case, consider creating this DIY version instead! Fabric choices and colors are easy to customize, giving each pencil case a personal touch.
You don’t even need to be an expert with the sewing machine to get great results. Once you’ve gathered all your supplies, this project takes about 10-minutes total. DIY pencil cases get the kids ready for school and work great as teacher appreciation presents or gifts for friends and family.
Materials You’ll Need
This short and sweet project promises to be fun. You’ll want to grab the following items to get started:
- Decorative fabric, preferably heavy to medium-weight
- 8-inch nylon-coil zipper size #3
- Sewing machine
- Thread
- Scissors
- Pins
Once you have your materials, it’s time to fire up the sewing machine and get ready to get creative!
Step-by-Step Instructions
1. Cut two rectangles from your decorative fabric. One rectangle should measure 7 inches by 9 inches, and the other should measure 3.5 inches by 1.5 inches.
2. Align the zipper with the long edge of the larger fabric rectangle. Ensure the rectangle is right side up and the zipper is right side down before pinning the zipper in place.
3. Stitch the zipper to the fabric.
4. Fold the other side of the fabric rectangle towards the zipper, so the right sides are together.
5. Stitch along the zipper tape to attach the two sides.
6. Unzip the zipper at least halfway.
7. Fold the long edges of the small rectangle of fabric twice to create a pull tab.
8. Topstitch along each long edge.
9. Fold the pull tab in half and place it between the two main pieces of larger fabric about half an inch below the zipper line. The loop will be facing inwards.
10. Stitch the sides of the pencil pouch closed, making sure the zipper is on top.
11.Turn the pencil case right side out through the half-opened zipper.
12. Push the corners out using so both sides are flat.
Just like that, your DIY pencil case is ready to use!
GoldStar Tool
These pencil cases are so quick and easy to make that you can create an entire colorful collection in a short amount of time. They’re fun and practical at the same time.
If you’re looking for the materials to get started, GoldStar Tool has everything you need and more. Reach out today and be sure to share your finished product with us on Instagram or Facebook.


