Back to the Office Series: DIY Messenger Bag!
2021-08-17
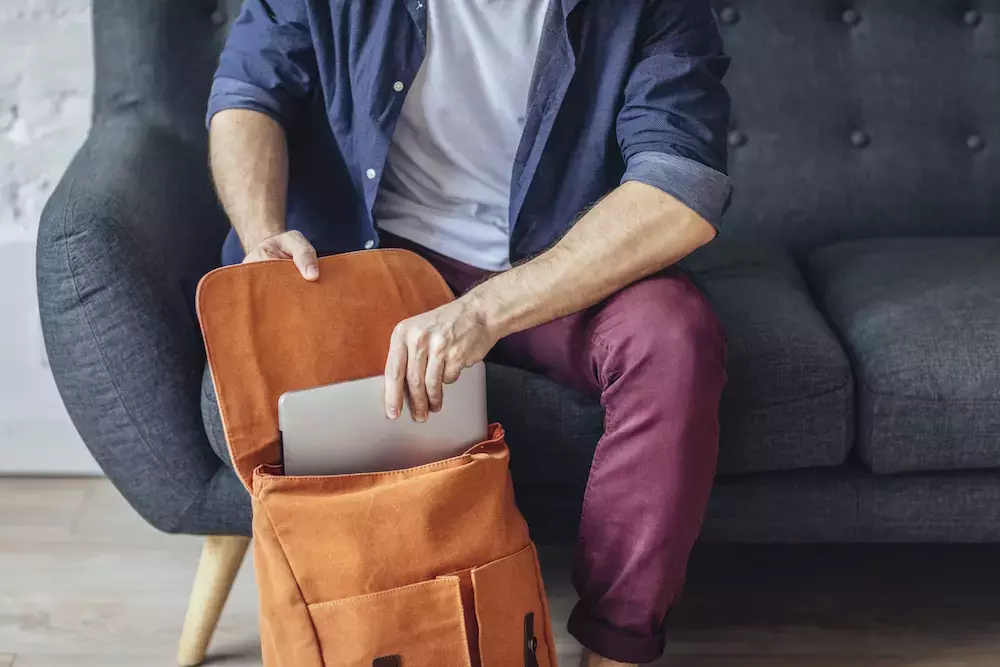
Throughout 2020 and most of 2021, many professionals found themselves working from home. Remote offices became the temporary standard with the idea of one day returning to the office always on the horizon.
For many employees, the time to return to the office has officially arrived. While the idea may be daunting, having a few personalized accessories in place before you’re back in the cubicle can help make the transition a little easier.
This DIY messenger bag is a great addition to your accessory lineup when it’s time to swap out work pajamas for business casual once again. If you have a sewing machine at home, it’s simple to create an eye-catching messenger bag that will keep you organized and moving with ease as you head back to work.
Materials You’ll Need
Creating a DIY messenger bag doesn’t take long. Gathering the following materials before you start promises to make the process even easier:
- Main decorative fabric
- Coordinating decorative fabric
- Lining fabric
- Fabric scissors
- Sewing machine
- Pins
- Iron
Once your materials are gathered, you’re ready to get started creating a beautiful bag.
Step-by-Step Instructions
1. Iron your fabrics out so they are flat and smooth.
2. Cut out your main piece of fabric, so it measures 17 inches by 15 inches and has rounded corners.
3. Repeat step two with your coordinating fabric and lining.
4. Cut a back piece of main fabric measuring 26 inches by 15 inches.
5. Repeat step 4 with coordinating fabric and lining.
6. Cut two pieces measuring 4 inches by 45 inches out of your main fabric, coordinating fabric and lining. One will work as the bag’s strap, and the others will be the sides.
7. Create the messenger bag strap by putting one of the 45-inch fabric strips from each main fabric together with the right sides facing in.
8. Ensure the lining is facing out and sew down each side.
9. Turn, press, then topstitch the fabric.
10. Moving onto the bag, grab the coordinating fabric pieces and lining pieces you previously cut out.
11. Position one of the two remaining two 45-inch strips along the sides of the main front piece. Be sure the lining is outside before pinning it in place along the perimeter and trimming away excess fabric.
12. Head to the sewing machine and stitch around the perimeter following the pins.
13. Repeat steps 11 and 12 using the back pieces of fabric and the last 45-inch fabric strip.
14. Turn the outer fabric right side out.
15. Turn the inner fabric inside out.
16. Slide the outer fabric into the inner material and ensure the seams are aligned, and the right sides are together.
17. Tuck the straps down between the two layers of fabric on the sides of the panels.
18. Sew around the entire bag, leaving several inches open near the top flap.
19. Turn the bag right side out through the opening.
20. Press the bag flat with an iron.
21. Topstitch around the flap.
With the last stitch in place, your messenger bag is ready to go!
GoldStar Tool
A DIY messenger bag will look fantastic when you’re back in the office. Count on GoldStar Tool when you’re ready to start creating one and are looking for materials.
Reach out today to learn more, and be sure to share your finished product with us on Instagram or Facebook.


