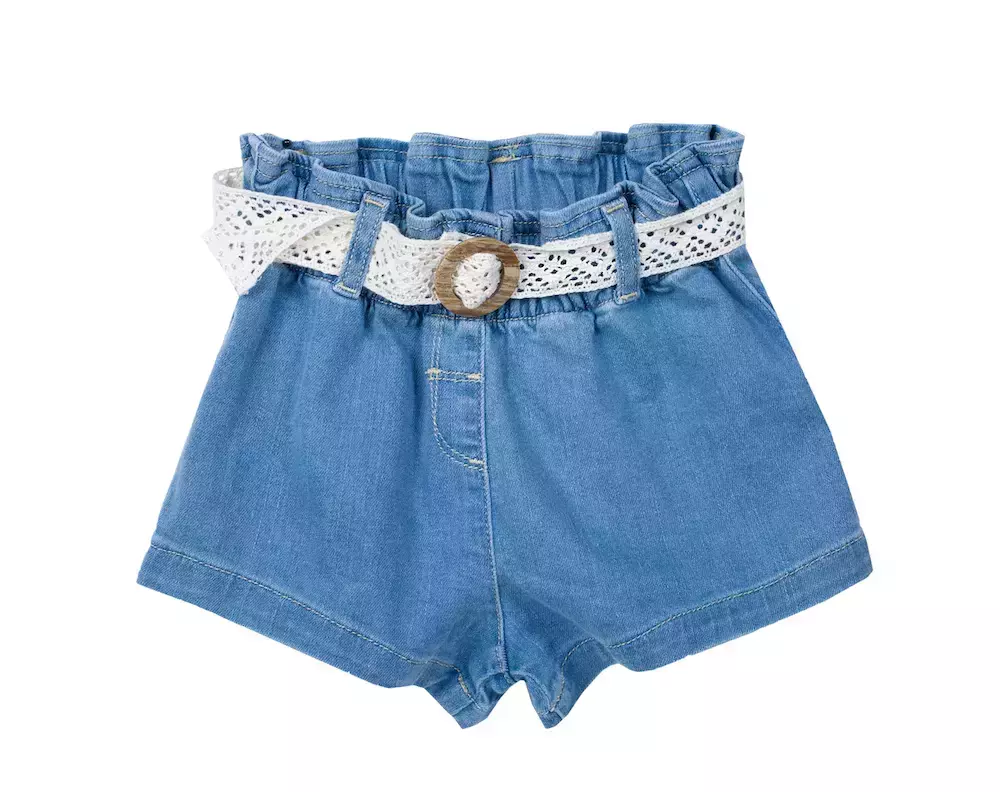
Enhance Your Child's Closet with Our Cloth Belts!
2022-04-07
If you’re reading this, you’re probably someone who appreciates unique and interesting clothing for yourself and your family. When you’re new to the world of crafts and sewing, you may also be looking for a way to add to your kids’ wardrobe that doesn’t require lots of experience and specialized tools.
Good news! Making a cool, custom belt for your kids is quick and simple. Here’s what you’ll need:
Tools
With some basic tools, you’ll get amazing results!
Sewing machine and sewing supplies
Tape measure (the kind tailors use)
Fabric scissors
Iron and ironing board
If you don’t have a tailor-style tape measure, that’s okay. You can always use another belt for reference or use a strip of fabric to wrap around your child’s waist that you can measure later.
Materials
To make your belt, you’ll need:
Fabric with a fun pattern
D rings (try to get ones that are 1 1/2 inches)
And that’s it! You can add some fusible interfacing or fleece if you want to make the belt feel more substantial.
Let’s Start Cutting and Sewing!
The first thing you’ll need to find out is how long to make the fabric. Measure your kid’s waistline and then add 6 inches.
Cut your fabric strip to that length and then cut it to 3 inches in width. Fold it lengthwise and run through your sewing machine, creating an edgestitch. If your fabric pattern is only on one side, make sure it’s on the inside for this part of the process.
Once you’ve sewn the seam, you’ll have a fabric tube. Fold it inside out (well, okay, technically, it was already inside out, so now it’s inside in) and then iron it flat. If you opted to put an interfacing layer in your belt, it should now be on the inside of your fabric tube.
The Finer Details
You’ll now have something that’s starting to resemble a belt. Take one end of your belt and fold it under by about half an inch. Fold it under a half-inch again.
Run through your sewing machine to stitch it in place. Flip the belt over and turn your attention to the other end. Now, before you stitch this end, place your fabric through the D rings. Your stitch will hold them in place.
Using Your New Belt
Once the belt is in your child’s belt loops, pull the end without the rings through the two D rings. Then bring it over the first D ring and through the second one. The friction of the belt going through the rings will hold it in place. What’s cool is the belt is infinitely adjustable, unlike a normal belt with just a few holes!
Explore Your Creativity at Goldstar Tool
This belt is just the beginning of your sewing journey. Get tools, supplies, and expertise to keep you creating at Goldstar Tool!


