Conquering the Zigzag Stitch
2021-01-05
The zigzag stitch is a staple and one of the stitches that people should learn early into their sewing career or hobby. Sewing in a straight line is undoubtedly essential. However, it doesn't present the security that a zigzag stitch does. Learning the zigzag stitch allows you to explore the fun stitching options and apply them usefully across many beginner and intermediate projects.
When to Use a Zigzag Stitch (and Why)
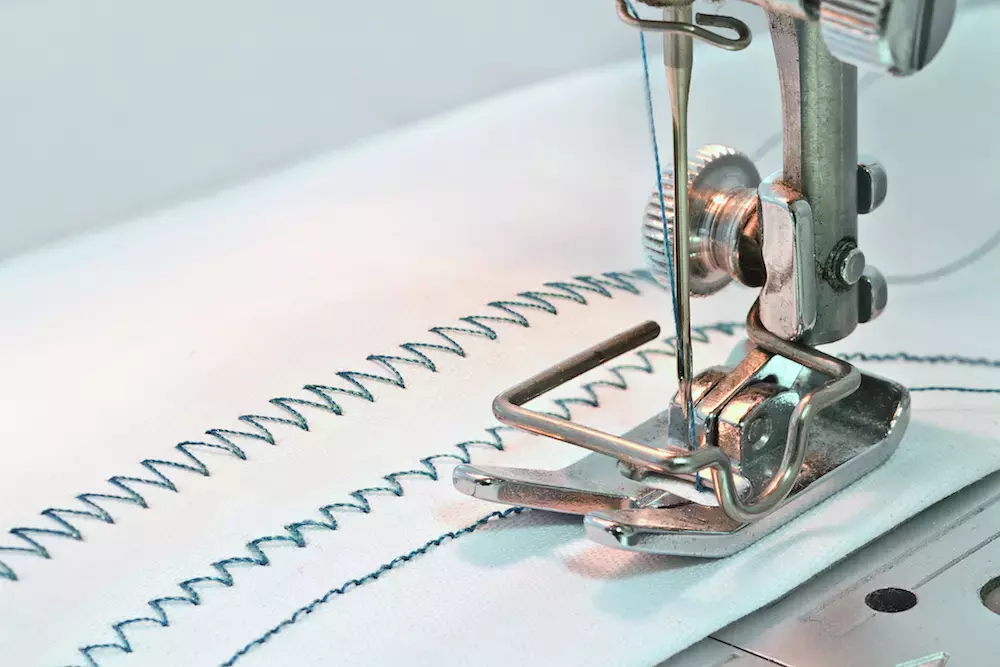
The zigzag stitch creates the thread's zigzag pattern by allowing the needle to penetrate the fabric in increments that alternate across from each other. This stitch offers more stability in the stitching and helps to hold things extra tight.
There are critical times when you should use a zigzag stitch:
- If a seam will experience tugging or pulling, use a zigzag stitch
- If the area may fray, use a zigzag stitch.
- If there is a raw edge, secure it down with a zigzag stitch for a hem.
- If you’re applying an applique, use a zigzag stitch.
Sew Your Zigzag Stitch
When you’re new to a sewing machine, it's essential to review each element before starting sewing carefully. Sit down behind the machine and check that everything is secure and ready for use. Ensure that your bobbin is in place and threaded. Check that your needle is secure. Then, change your machine settings from the straight stitch to the zigzag stitch. Some sewing machines are digital, and others use levers or buttons to change the stitch pattern. Get to know your machine and get comfortable with exploring these stitches. If you're not sure about changing your machine from a straight stitch to a zigzag, then reference your sewing machine's user manual.
The zigzag stitch settings should have a very average length and width setting. You can adjust these settings to emphasize the zigzag pattern or change its tightness—more on that in a moment. For now, start with your machine's preset settings for the stitch.
Take a piece of scrap fabric, then lower your presser foot and needle onto the fabric. Sew for an inch or two and get a feel for the sensation. It should not pull as directly as a straight stitch would, and that's okay. Do not push or pull the fabric. The machine will do most of the work; trust it.
Switch your sewing machine into reverse and sew over the last inch of your work. When using the zigzag stitch, you will start and end your stitches to knot the thread.
How to Adjust Your Zigzag Stitch
Unlike the straight stitch, the zigzag stitch might require some adjustments depending on your project and fabric. There’s also the opportunity to adjust the pattern based on your preferences.
Keep these adjustments in mind:
- Adjusting the width to a larger setting will result in an exaggerated big and wide zigzag pattern.
- Adjusting the width to a smaller setting will result in a series of tall mountain-peak-style zigzags.
- Adjust the length smaller will create a smaller zigzag pattern with shorter distances between zigs and zags.
- Adjust the length longer will place the stitches further apart and pull the zigzag pattern into a more shallow pattern.
When zigzags are right next to each other, it is called a Satin Stitch. The Satin Stitch indicates the primary reason for adjusting the zigzag stitch: material type. Many lightweight materials will "tunnel" with a zigzag stitch or bunch up. That's not desired, so changing the stitch can help the fabric retain its integrity and enhance the outcome of the project.
GoldStar Tool
Now that you are a zigzag stitch pro get yourself a sewing machine that can assist you in any stitching need or sewing project. Zigzag stitches can transform your projects so make it easier with a new sewing machine! If you have any questions about any of our products, please contact us. If you try any of our tutorials, tag us on Instagram! We love seeing our customers’ creations.


