DIY Cotton Storage Bin!
2022-04-28
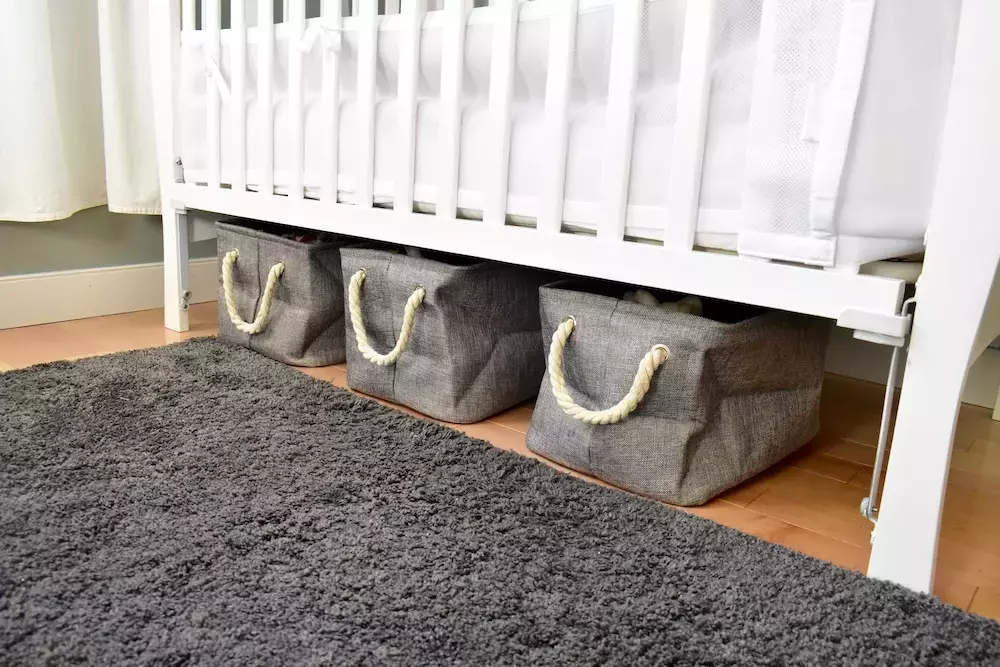
Most storage solutions are functional, rectangular, molded plastic, or other boring words. Let’s fix that with a cotton storage bin you can make yourself! The tools you need are few, and the materials are easily found and inexpensive.
Tools
All you need to get going are the following:
Sewing machine and accouterments
Iron with ironing board
Scissors
Pins
Pencil
If you feel like making any decorations or patterns on your bag, you can grab some stencils, paint, and brushes or sponges, too.
Materials
As for the amount of materials, you’ll have to determine based on the size of the bin you want:
Cotton fabric of your choice (patterned, unpatterned, duck fabric, etc.)
Interfacing (option for added strength, fusible is best)
Cotton straps (buy or make, it’s up to you)
Perhaps enough for a 1-foot diameter 8-inch tall basket.
Construction
Once you have your materials and your tools ready, it’s time to get started!
1. Cut Your Fabric
For the bottom, if you want a 1-foot wide bin, cut a 1-foot circle. Have two circles ready. Then cut out interfacing to the same size to sandwich between these two circles.
Cut rectangular pieces for sides. If you’re doing interfacing, cut it now. Cut the sides so you’ll have enough to fold the top down 2 inches once you’ve made them into cylinders for your bucket.
2. Sew Your Fabric
Break out the sewing machine for this step. You’ll want to sew the sides together with a half-inch seam allowance (SA). You now have 2 separate sides.
Next, you’ll need your pins to attach 1 bottom to 1 cylindrical side piece, then run them both through your sewing machine to permanently attach them, being careful to again leave a half-inch SA. Now you should have what looks like 2 buckets.
3. Iron and Trim
Fold over the top half-inch of the edge of your cotton basket’s opening. Use your iron to press this half inch. Then trim off the bottom seam to a quarter of an inch. Do this for both of your bucket pieces.
4. Pairing the Pieces
Fold one bucket inside out. Take the other bucket and place it inside the inside out one. Get the bottom seams to match up. If you have interfacing to use for the side, this is the time to make sure it’s in place!
5. Fold and Stitch
Fold the top 2 inches of your bucket down inside. Pin your straps in place under the top. Now run through your sewing machine with an edge stitch on the top and bottom of this 2-inch fold.
6. Press and Paint
You can use the iron to press the edge and call it a day, or you can paint and decorate freehand or with stencils. It's up to you!
Stock Up with Goldstar Tool
Running low on supplies but want a cotton bin of your own? Don’t worry; Goldstar Tool has all of the sewing supplies you need!


