DIY Diaper Bags
2022-04-21
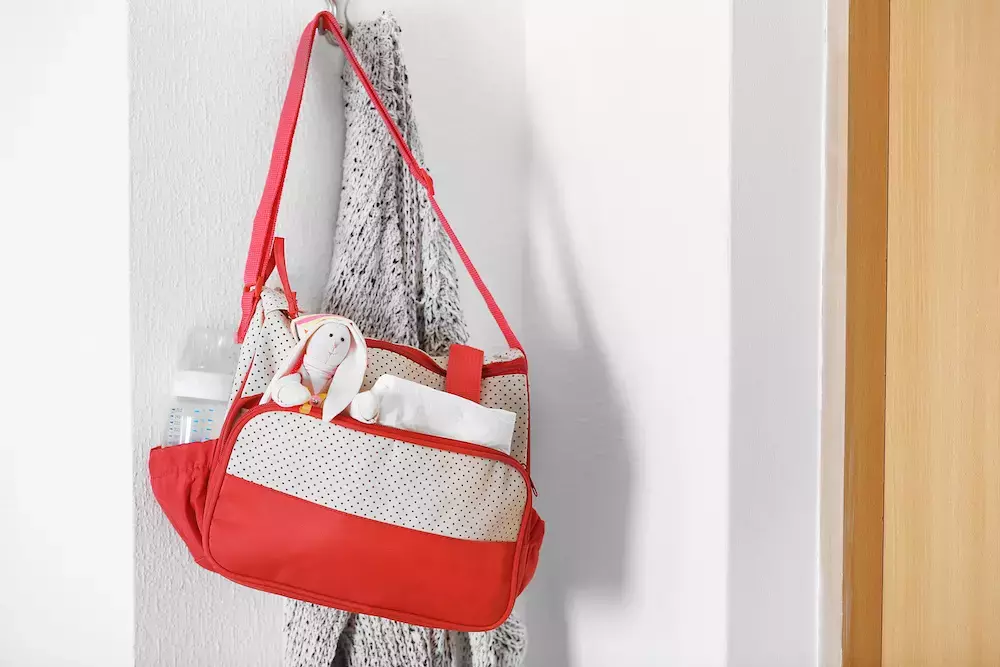
If you’re a parent, you know that diaper bags can be expensive and boring. They can also be shoddily made a lot of time. If you want to solve all those problems at once, you can make your own!
Supplies
Let’s start with the tools:
Sewing machine and supplies
Scissors
Iron and ironing board
Measuring tape
Here are the materials:
Exterior fabric (1 yard)
Accent fabric (1/2 yard)
Lining fabric (1 yard)
Fusible interfacing (3 1/2 yards)
Fusible fleece (1 yard)
One 9-inch zipper
One 16-inch zipper
Four 1 1/2-inch D rings
Now to prepare!
Prepare Your Materials
Before running fabric through the sewing machine, all of the pieces have to be the right size and in place.
First, you need to cut the exterior fabric. The numbers and sizes you’ll need are:
Lower exterior panels: 2 sized 10 1/2” x 17 1/2”
Exterior pockets: 2 sized 16” x 11”
Interior zipper pocket: 2 sized 12” x 10”
Then cut your accent fabric:
Handles/ D ring tabs: 2 sized 40” x 4”
Upper exterior panels: 2 sized 3 1/2” x 17 1/2”
Exterior bottom panel: 1 sized 6” x 12”
Cut your lining fabric next:
Lining panels: 2 sized 13” x 17 1/2”
Large interior pockets: 2 sized 9” x 17 1/2”
Small interior pockets:2 sized 12” x 7”
Lining bottom panel: 1 sized 6” x 12”
Cut your fusible interfacing:
Handles/D ring tabs: 4 sized 20” x 4”
Lower exterior panels: 2 sized 10 1/2” x 17 1/2”
Upper exterior panels: 2 sized 3 1/2” x 17 1/2”
Exterior pockets: 2 sized 16” x 11”
Lining panels: 2 sized 13” x 17 1/2”
Exterior and lining bottom panels: 2 sized 6” x 12’’
Cut your fusible fleece:
Handles: 2 sized 1 1/2” x 40”
Lower exterior panels: 2 sized 10 1/2” x 17 1/2”
Upper exterior panels: 2 sized 3 1/2” x 17 1/2”
Exterior pockets: 2 sized 8” x 11”
Exterior bottom panel: 1 sized 6” x 12”
Now that your fabric is prepped, sized, and cut, it’s time to get started!
Let the Crafting Begin
Time to make our diaper bag!
Handles
Apply your fusible interfacing to the pieces of the corresponding size. Fuse fleece to upper and lower exterior panels.
Take the pieces for the handles, fold, and press. Put fusible fleece into the handles and press again. Stitch edges shut. Cut 3 inches from both ends of both handles. For the strip that will become the handle, fold and sew a hand-width.
Exterior Panels
Take your 3-inch scraps from the handle ends and place each through a D ring. You should have four. Sew the ends of each one together to make a loop in the D ring.
Set down a lower exterior panel with the pattern side up. Pin a D ring 4 inches from each side along the top edge.
Put your upper exterior panel pattern-side down on top and pin in place. Stitch all around edges. Sew over D ring tabs one more time. Use a topstitch on the lower panel 1/8” from the seam. Do the same for the second panel.
Pockets
Fuse fleece to the inside of the exterior pocket. Fold in half and pin. Sew sides, trim fleece. Topstitch edge. Backstitch each row. Do the same for 2nd pocket. Pin 2 pleats in the bottom. Create a 1/2-inch pleat on each side. Stitch pleats in both pockets.
For small pockets, pin pieces with right sides. Sew together, leaving a 3-inch opening. Trim corners. Turn right side out. Topstitch and backstitch. Pin pocket to center of a lining piece 5 inches from the top. Stitch sides/bottom/divider line in pocket.
Cut zipper pocket hole, stitch edges of the hole, stitch the zipper in place. Pin zipper pocket pieces together. Don’t pin the lining! Sew around the pocket.
Sew one side of the interior pocket pieces together. Sew edge. Fold in half, pin to the lining piece. Baste pocket on sides and bottom.
Zipper Closure
Unzip zipper, place one-half face down on exterior piece, and center it. Pin in place. Sew. Press the seam open a few inches. Install other zipper piece between the lining and exterior pieces.
Exterior Pockets
Take both parts of the bag, lay them with right sides facing, pin on one side. Sew along the edge. Trim triangle out of the seam where zipper seams meet. Install exterior pocket. Put exterior panels pattern side up on the table. Match exterior pocket to side seam. Pin in place. Pin pocket to panel. Topstitch pocket.
Fold right sides of panels together, pin, sew seam. Cut triangle from zipper seam again. Turn everything right side out. Pin 2nd exterior pocket in place, sew together.
Bottom Panel
Pin exterior panels together along right sides, sew seam through ends of each side. Pin center in place. Ensure corners are flat, pin, and stitch. Then do the same on the opposite side. Sew in the lining on the bottom panel, but leave an opening in the center of one side.
The Last Steps
Turn bag right side out. Stitch closed. Press lining to the inside (don’t melt the zipper!) Topstitch around zipper seam. Get rid of basting stitches. Place handles through the end of the D ring, fold over a half-inch, then an inch and 1/5th. Sew stitching through folds. Repeat for other handle.
Create with Supplies from Goldstar Tool
If you’re ready to begin making crafts get started with all of the supplies you need from Goldstar Tool!


