Get Ready to Travel with a DIY Duffel Bag
2018-11-16
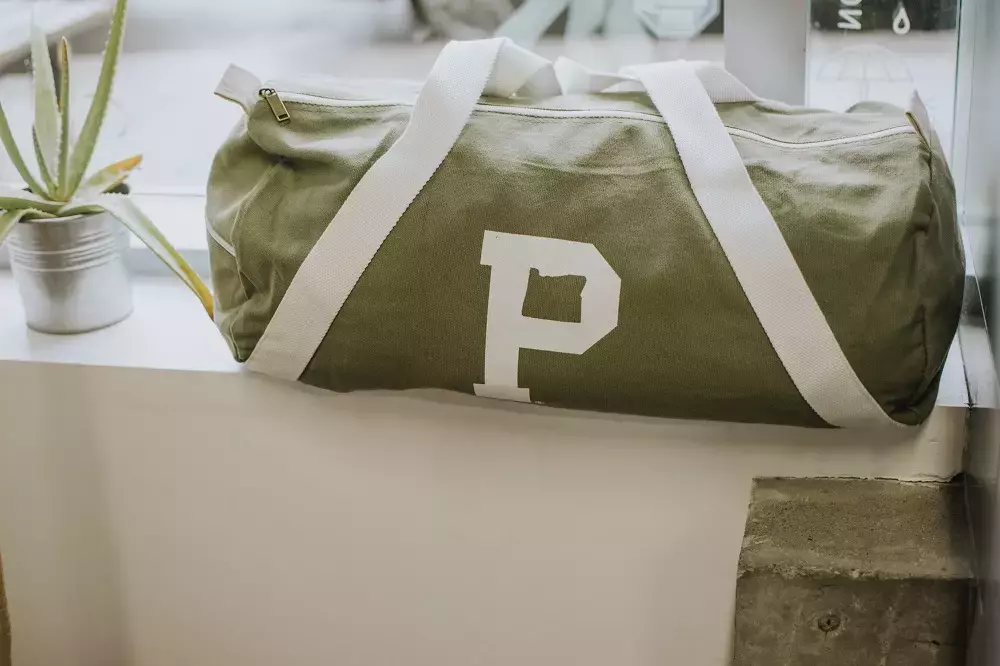
DIY Duffel Bag Project
From the gym to your next quilting class a duffel bag is always useful. You can use them in place of travel bags on short weekend getaways, or even for storage. Buying them, however, has a few issues. They’re always overpriced, they’re always boring black or navy and the zippers always break! But, when you’re sewing your own duffel bag, you can add some personal flair and a high-quality zipper too! We’ve broken down the steps here on how to use sewing machines to create the ultimate duffel bag at home!
What You Need to Get Started:
As always, craft projects require crafting materials, but it’s likely that you’ll have most of these on hand! It’s a great way to use scrap canvas or denim pieces too!
- 1/2 yard of fabric, approximately 45-inches wide. For fabric, you’ll want something stiff that will retain its shape, such as canvas or denim. If you’re looking for something with some personality, try the upholstery section or choose cotton and use a thick layer of fusing.
- Thread
- 18-inch zipper
- 1 pack of maxi-piping
- Durable piece for the inner bottom of the bag such as cardboard, shower wall liner or plexiglass.
- Pattern
Step One: Prepare Your Pieces
There are dozens of different duffel bag sewing patterns out there, and the good ones can cost you a few bucks. But, this one is free and easy to prepare without printing out a pattern. For this pattern you’ll end up with these pieces:
- 2 - 3/4 inch by 19 1/2 inch (for your zipper pieces)
- 1 - 5 1/2 inch by 18 inches (for your bottom)
- 2 - 3 1/2 inch by 19 inches (straps)
- 2 - 18 inches by 18 inches (cut from the centerfold for identical pieces)
Now, cut out your fabric! It’s always easiest to use a rotary cutter and cutting mat which is both well worth the investment. Not to mention you really do get much straighter lines. You can purchase all the other cutting accessories as you need them later, and most of them are specific to quilting.
Step Two: Quick Setup for Sewing Machines
Sewing machines are particularly finicky, and when you’re working with thick fabrics such as canvas or denim, you’ll want to take some extra care. Be sure to change the needle and use a needle that is right for the fabric. As always you’ll want to run your thread carefully.
Step Three: Start With Your Straps
The straps or handles will need a lot of support, but you won’t need webbing! Instead, fold the fabric for your straps lengthwise or “hotdog” style with the wrong sides together and press. Then fold in any raw edges and press again. The double fold and press will offer more support. Finally, stitch those straps closed!
Step Four: Piping and Attaching
The maxi-piping allows your duffel bag to keep its shape even when empty. Sew the piping directly into the sides of the body. You don’t need binding, because the piping set into this extra seam will help hide raw edges too.
After your piping is in place, you can attach your handles. Remember to measure out from the center and mark about five-inches out in both directions. That should be a comfortable place for your handles. You will want to sew the handles above and below the lines of your piping. The more lines of stitching that are holding your handles in place, the more durability they will have.
Step Five: Sewing in the Zipper
Most sewing machines have zipper feet or attachments for zippers, but you don’t necessarily need one. You can place your zipper right side facing down and stitch along the “raw” edge and then repeat for the other side. Typically you’ll want to use a 3/8-inch seam allowance.
Step Six: Get It Together!
That’s right. You’re ready to make your bag look like a duffel bag! With a 1/2-inch seam allowance, you’ll want to top stitch the seams for the bottom section of your duffel bag. Work in sections moving away from the zipper section.
When you’re ready to sew the sides together and complete your project, you’ll want to stitch with the bag inside out, with the zipper open. Start at the centermost point of the top pieces and line the fabric up with the center of the zipper. Then stitch down the edge of both sides. You can use the piping as a guide! Finally, turn the bag inside out and reinforce the bottom.
The versatility of a quality duffel bag is outstanding. A DIY duffel bag will last you many years and make useful hand-made gifts for friends and family. GoldStar Tool offers everything you need to complete your own, unique DIY duffel.


