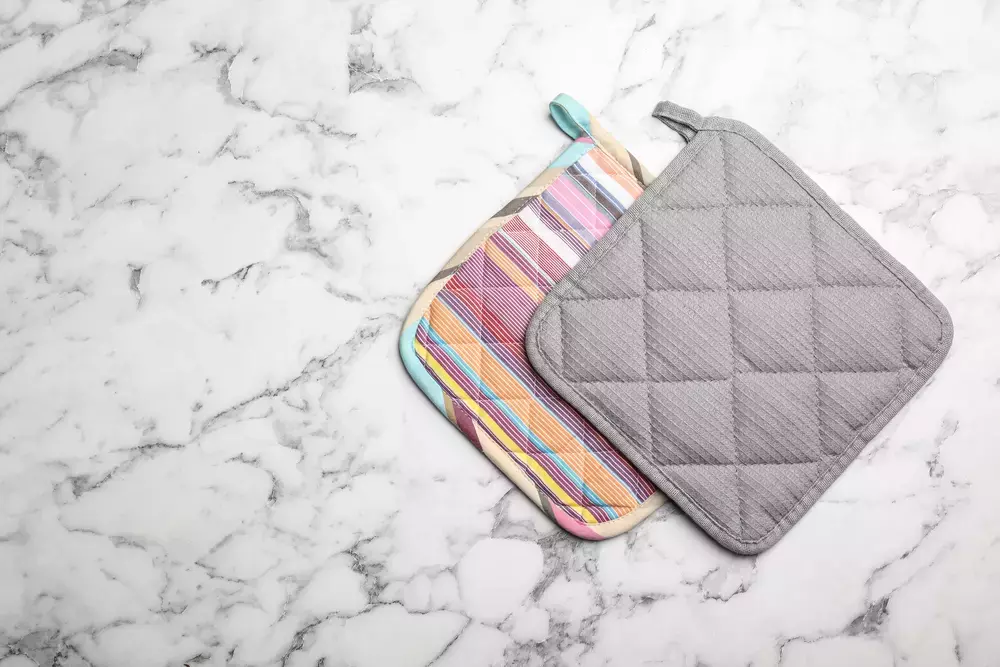
DIY Easy Potholders
2020-11-26
Potholders can undoubtedly save you in the kitchen, but you don’t want a potholder that is going to wear out over a few months. One of the many crafting conundrums is when homemade items that are generally cheap and easy to do work better and last longer than store-bought options. These potholders have a pocket and a binding to help make them last and help you get the most use out of them!
Your Materials
There are some materials here that present a few different options. If you’re looking to get through your scrap stash, then you might consider using a bias tape maker. However, if you’d rather save time, then purchase bias tape.
Here’s what you’ll need to get started:
- Scraps of 100% cotton. Match or don’t match. It’s all about your preferences.
- Thermal batting This is very important. You must use thermal batting!
- Quilting batting
- Bias tape or make your own with a bias tape maker.
- Coordinating thread
- Sewing machine
- Fabric scissors
There are two things you need for a safe potholder: 100% cotton and thermal batting. You want to know that your fabric isn’t going to overheat and melt. You also don’t want to burn your hand while you’re using a potholder.
Your fabric cuts will include:
- 2 - 9” x 9” squares of cotton fabric
- 2 - 9” x 6.5” rectangles of cotton fabric (these don’t have to be the same pattern as the squares)
- 1 - 9” x 9” thermal batting
- 1 - 9” x 9” quilting batting
- 1 - 9” x 6.5” quilting batting
- 1 - 45” long by 1/2" wide double-fold bias
Completing Your Potholders
- Place one cotton square right side down, then layer the thermal batting and quilting batting, and then the other cotton square with the wrong side facing the sandwich.
- Sew horizontal lines about 1” apart all across the potholder.
- Sandwich the rectangle with the wrong sides together. The same as you started, one rectangular piece with the wrong side facing up. Then, layer the quilting batting and the last rectangular selection with the right side up.
- Sew horizontal lines across the rectangular piece.
- Trim any uneven edges.
- Add your bias binding to the top edge of your pocket piece (the rectangular piece). Give this bias a 1/8-inch excess on both sides.
- Place the pocket over the cotton square sandwich, pin that into place.
- Lay your binding out, starting with the top left corner of the potholder.
- Sew the binding across one side, and at each corner, stop and fold the fabric over at a 90-degree angle. Tuck that little fold underneath the presser foot, then pivot with the needle in place. Do this around the edge.
- Trim your corners.
- Pin or clip your binding over.
- Give the top left edge a 6” tail. Sew through that and then tuck it into the binding where it meets the potholder.
- Sew your binding into place all around the edge of the potholder, again tucking your corners as you go.
After you make a few of these, you might be able to knock out two or so in an hour. Some people prefer to hand sew the stitching into place, and it’s an excellent opportunity to build up your hand-stitching skills. These are great for everyday use, and the pocket makes them extremely easy to handle. The little loop is excellent too. Don’t shove your potholders in a drawer. Instead, stick a Command hook on the inside of a cabinet door and hang them!
If you tried this tutorial, tag us on Instagram! We love seeing our customers’ creations. If you would like to purchase something in bulk from our site or have any questions, contact our customer service team. We are happy to help you with any issues that may arise.


