DIY Fall Pumpkin Pillow
2020-11-02
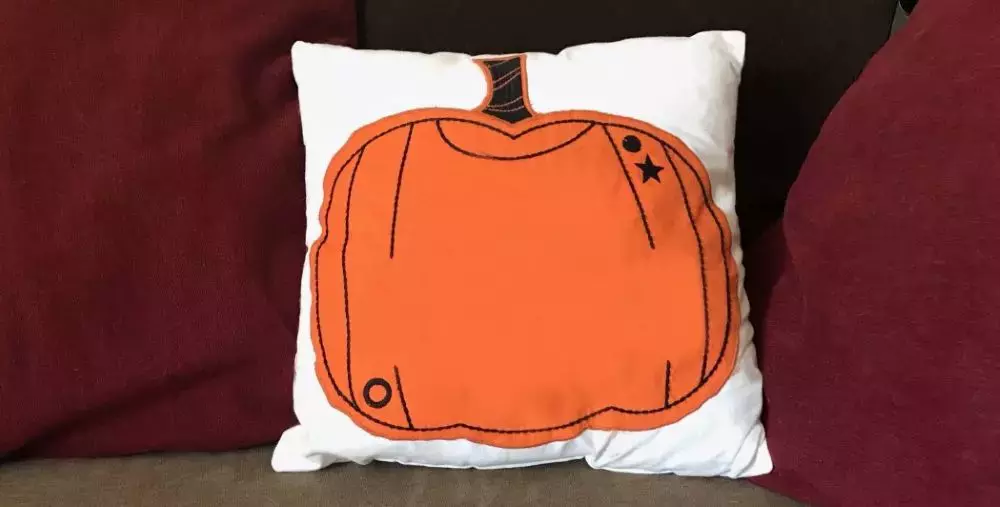
What is more adorable than a homemade fall pumpkin pillow? In fall season, not much. You can bring an essence of the caramel and fall spices right into your home, no candles, or carving involved! This pattern is extremely easy and leaves a lot of room for creativity and individuality. You can even get your children involved and use their creativity with a fun family project. It’s an easy DIY craft that you can finish up in a stitch or two.
What You Need to Get Started
- Felt for the pumpkin (You can make these on your own, another fun craft!)
- 18” x 18” patterned home decor fabric (Pillow front)
- 2 - 12” x 18” fabric for the back of the pillow (match, or don’t match, it’s up to you!)
- 18” pillow insert
- Thread
- Sewing machine
- Basic sewing supplies
Step One: Give Your Pumpkin Some Backup
Whether you made your felt pumpkin, or found a pre-made one at your local craft shop, the first step is to give it a back piece. You’ll want the solid-colored fabric to sit right-side facing the back of the pumpkin. This gives the pumpkin some solid coloring.
Pin the two pieces of fabric together and then stitch over the edges to keep the fabric secure. You’ll need to stitch around the outer area of the pumpkin and the edges of the pumpkin's features as well. For this, use a nice straight stitch, nothing fancy.
Step Two: Create the Front Panel
Take your pumpkin and center it on your patterned front panel of the pillow. Pin and stitch into place. You’ll need another straight stitch to secure the pumpkin onto the patterned front. Then put this aside for a moment.
Step Three: Hem and Prepare for Completion
At this stage, you’ll see all the pieces start to come together. First, give one of the long edges of each back panel fabric piece a nice hem. To accomplish this, you’ll fold the fabric over 1/4-inch and press it down. Then, fold the fabric again by 1/4-inch and stitch down into place.
Lay the front panel facing up, then put one of the back panel pieces over it, face down. Align the corners, your edges should be slightly off-center so you can get the pillow insert into place. The hemmed edge should be slightly off-center from the top-down, not from side-to-side.
Take the second back panel piece and do the same. Then, pin everything into place with a 1/2-inch seam. You can finish the seam with a zig-zag stitch on your sewing machine or polish it off with a serger.
Step Three: Turn and Stuff
Now you can clip your corners and flip your project around. Use a pencil to poke out those corners for a completed look. Then stuff the pillow form into place. If you’re looking for a way to do this craft with younger children, you can opt for a no-sew option where you can use either fabric glue or Stitch Witchery to complete this project.
GoldStar Tool
At GoldStar Tool we know it’s important to not only give tutorials on DIY, fun projects, but also to help explain some of the products on our site and in the sewing world. If you enjoyed this tutorial, check out our blog on all things sewing! If you try one of our tutorials, or make you brown project with one of our products, tag us on Instagram! We love to see your creations!


