DIY Fun Adjustable Pet Collar
2019-05-28
You can make an adjustable collar for your fur baby that is cute, comfortable, and sturdy. Say goodbye to buying cheap collars every few months and instead opt for a DIY collar.
This project is fast, fun, and can help you burn through some of your fabric stash! If you have a lot of fabric lying around, you could even make a matching leash!
Grab your sewing machine and get ready to have some fun with your furry best friend.
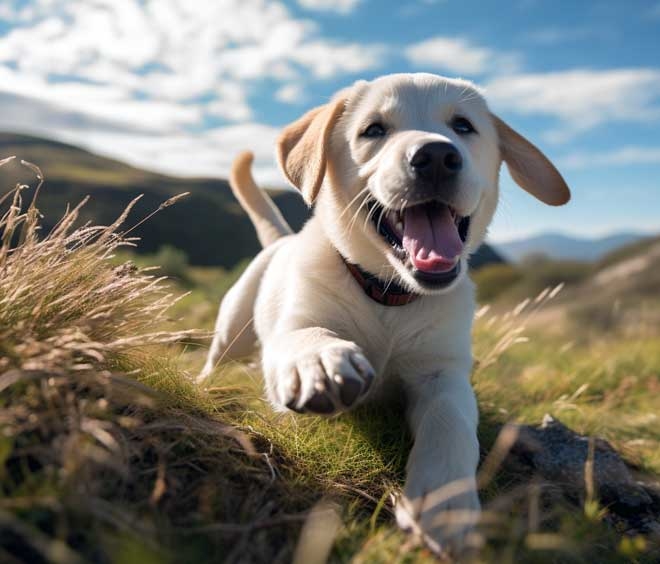
How to Measure Your Pet
There is a particular way to measure your pet for a collar, and if your little one doesn't like to sit still, this may be the most fun or frustrating part of your project.
You don't want your pet's collar to be too tight or too lose. So to measure your post, grab your measuring tape, and approach your pup like you're coming in for a hug. Then get two measurements: a little loose, and a little snug, but specifically not tight.
Take your snug measurement and add a half-inch onto it, this is your comfortable neck measurement, and it should be a little closer to your slightly loose measurement. For example, if you're snug measurement was three 1/2-inches then bring that up to 4-inches.
Gather Materials for Your Collar
To make your pet collar you’ll need:
- 1 – (comfortable neck measurement) x 5”
- 1 – D-ring
- 1 – 2” strip of “hook and loop” Velcro tape.
Fold and Sew
Take your rectangle of fabric and fold it lengthwise in half, press that with an iron. Then, fold it once more, and press it again. You've folded the fabric in half twice. Then take the edge and fold it back on itself to sew the finished ends. Using your sewing machine, stitch these edges with a 1/4-inch allowance, do this to both sides.
Stitch down the side and as you sew you'll need to tuck the raw edges into the center. When you're done, press the strip of fabric, and this is essentially your collar. Top stitch around the edge of the fabric strip. With just five minutes behind the sewing machine, you're nearly done.
Take your D-ring and thread one end of the collar through it, and match the edge with the fabric about 1/2-inch in. Then stitch over this bit to secure; running your sewing machine back and forth a few times will create a secure hold.
On the other side of the collar, sew both sides of the hook and lock the Velcro down with about 1/2-inch of space between the two pieces.
Now you have an easy and sturdy collar that can grow with your fur baby. It's not always easy finding an adjustable collar that is easy to change the size, but the Velcro in this project makes it really easy to let this collar out.
Once you have finished with this project, be sure to check out Goldstar Tool for more fun projects and all the sewing machines and tools you could ask for!


