DIY Pincushion
2021-02-11
It’s not often that you can find a quick project that digs into your sewing stash and serves a purpose in your sewing room or corner! With just a few moments behind your sewing machine, you can easily make a pincushion that can hang out on your table or serve as a fun and bright gift to a fellow sewer!
Gather Your Materials
Make Your Fabric Circles
Start by using a cup or mug to trace circles onto your fabric scraps. You’ll need two circles for each pincushion. A circle that is 4-inches across will make a decent sized pin cushion about the size of your standard tomato pin cushion.
You can always go bigger or smaller. There are no rules on size here!
Sew and Snip
Plant your two circles right side together, sew with a 1/4-inch allowance, and then leave an inch for turning.
Notch the fabric around the seam making small triangles every so often.
Turn, Press, and Stuff
Turn your cushion, and be sure to give it a quick press. This project is one of those instances where you’ll see dramatically different results because of pressing. Avoid pressing at your own risk.
Stuff your cushion, and then stitch closed that gap. An invisible ladder stitch is excellent for closing these tiny gaps in a way that doesn’t make the turning point obvious. But even if closing this opening doesn’t look great, don’t worry, we’re not done yet!
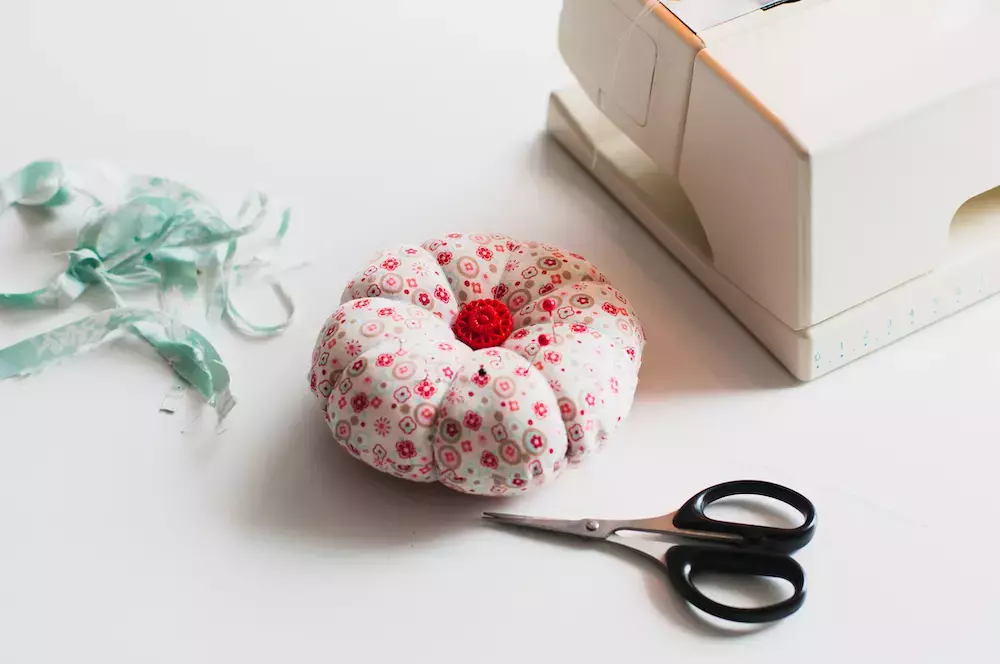
Give Your Pin Cushion Some Character
The tomato is the well-known design for pin cushions with its easy to see segments and fun design. Over the years, we’ve seen oranges and more, but that doesn’t mean you have to stick with fruit. Any color or pattern can work well here.
To create a few segments in your cushion, Take a piece of embroidery floss, and you’re going to pass the needle through the cushion from top to bottom right through the center. Then, around the outside of the cushion, bring the floss up and around, then pass the needle through the top-center and to the bottom again.
Pull the thread as you do this so that it makes each segment look puffy. The standard approach is to create eight segments, but you can get creative here because it doesn’t affect the project’s structural integrity.
When you have your segments done, knot the embroidery floss off at the top. Then, sew a button of the knotted area to give it a cleaner finish. You’re done! These typically only take a few minutes and are great fun to pass around to fellow sewers.
GoldStar Tool
Pincushions are essential for all sewers, beginners or advanced. If you followed this tutorial, show us on Instagram! We love to see your creations. If you would like to purchase any products, or have any questions about our products, please contact us today!


