Make Your Own Puffer Jacket!
2021-12-14
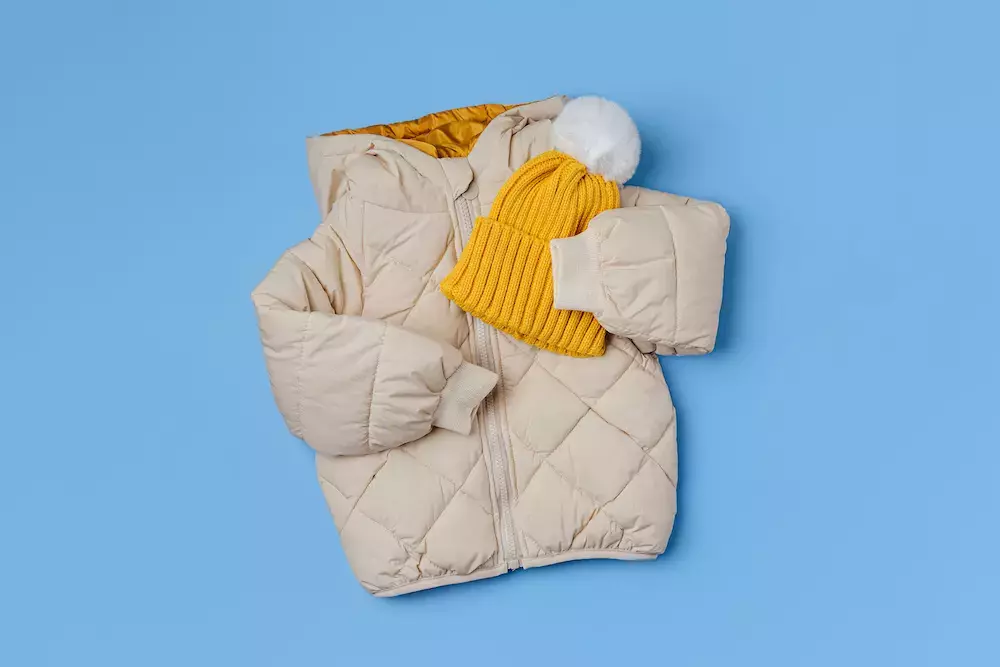
When temperatures drop, having a warm coat to cozy up in is key to conquering the season comfortably. When comfort, style, and warmth are all important, the option to make your own puffer jacket is particularly appealing.
Puffer jackets fit well into any wardrobe and look great while keeping you bundled in style. When you make your own puffer jacket, you can pick the fabrics you love to create a one-of-a-kind look.
You might be surprised to find that a regular coat pattern will do the trick when you’re ready to make your own puffer jacket. Here, we’ll show you how and prepare you to face the cold weather looking great this year.
Materials You’ll Need to Make Your Own Puffer Jacket
Before you get started, make sure to grab a few essential supplies. You’ll need:
- Five yards of four-ply water repellent nylon Taslan
- Five yards unbleached 44-inch cotton muslin
- Three to four packs of Poly-Fi fiber filling
- Ruler
- Coat sewing pattern
- Sewing machine
Once you have these items in place, you’re ready to get started.
Step-by-Step Instructions
1. Trace your pattern to create a mirrored set of back and front pieces.
2. Take the front pieces and measure distances from the hem to the sleeve edge with a ruler.
3. Cut your front and back lining panels out.
4. Quilt your top, middle, and bottom layers together. The top will be the pattern paper, the middle will be the water repellent fabric, and the bottom will be the muslin.
5. Repeat step four for each individual panel. You’ll have two front panels and two back panels.
6. While quilting, fold the paper pattern along the stitch line as each row is complete.
7. Join your facings to your front lining panels.
8. Close the center back seam. This will join both of your back panels.
9. Attach front and back lining pieces with right sides facing. Set these pieces aside.
10. Create filling sections across the fabric using a running stitch 1/8 of an inch from the raw fabric edges. Use this stitch along the top edge and hem as well on each panel.
11. Stitch the front and back panels in the same way.
12. Close the center back seam of the back panels.
13. Fill each section with loose batting on the front and back panels.
14. Once you add all of the filling, pin or hand baste the seams.
15. Use a zipper foot on the sewing machine to create a half-inch seam allowance all around.
16. Hem the edges of the coat and the sleeves.
When this is complete, your puffer jacket is ready to wear!
Goldstar Tool
This DIY puffer jacket is sure to keep you warm and help you embrace your own style this year. When you’re looking for the right materials to get started, explore Goldstar Tool. Make sure to share your finished product with us on Instagram and Facebook when it’s ready to wear.


