DIY Sewing Projects for Beginners: Luggage Tag Labels
2022-09-15
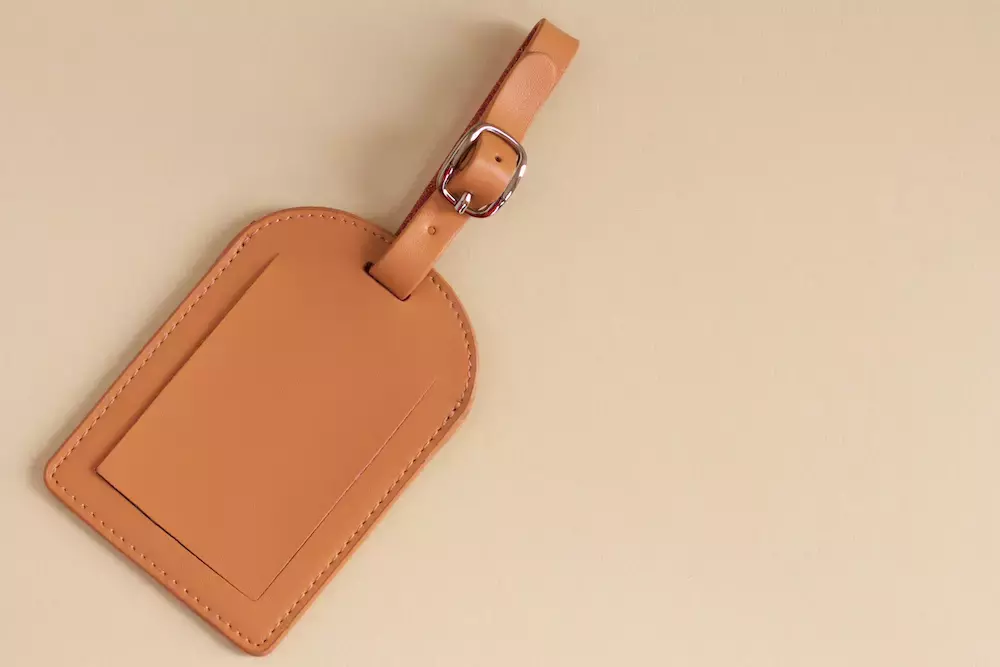
DIY luggage tag labels are an easy and fun way to personalize your luggage. Gearing up for your next trip? Give this DIY sewing project a try!
Materials You’ll Need
The materials needed for this project are:
Sewing machine and sewing supplies
Iron and ironing board
Ultra Firm Stabilizer, 4” x 6” rectangle
Matching or coordinating cotton fabrics, two 4.5” x 7” rectangles
20 gauge clear vinyl, 2.5” x 4.25” cut
Heavyweight fusible interfacing, 10” x 8”
Matching fabric, 10” x 1.5” rectangle
These materials will produce one label.
How to Make Luggage Tag Labels with Your Sewing Machine
1. Download and print a stock luggage tag pattern, and cut out the pieces to match your cut supplies.
2. Fuse the wrong sides of each fabric rectangle to your heavyweight fusible interfacing with an iron and press cloth.
3. Trace your stock luggage tag shape and cut. This will be the front of your tag.
4. Place your vinyl rectangle on your front tag piece, pin, and sew on three sides with a ¼” seam allowance.
5. Make the strap by taking your 10” fabric strip and placing it right side up on your ironing board. Fold it in half and iron the right sides together.
6. With a ¼” seam allowance, sew the piece shut and attach a safety pin to one end. Feed the pin through the tube of fabric to pull it right side out. Iron the strip with the seam down the middle.
7. Use a ruler to find the center of the luggage tag top and pin your strap to the right side of the fabric (seams facing you). Baste the strap in its place with a ¼” seam allowance.
8. Line up and pin the front and back pieces. Take your sewing machine and stitch while both pieces are inside out, leaving the bottom edge open. Trim away excess fabric on the edges, but don’t cut the corners too closely.
9. Press the bottom seam with your iron and then flip your tag right side out, using the strap to help.
10. Cut out your ultra firm stabilizer to match your tag size and stuff it into the front of the tag. Fold the fabric over the insert and sew it down on three sides so you can insert a name card into the open side.
All the DIY Projects You’ve Been Dreaming of
Ready for more DIY sewing machine crafts for beginners? We’ve got you covered. Visit Goldstar Tool to learn more.


