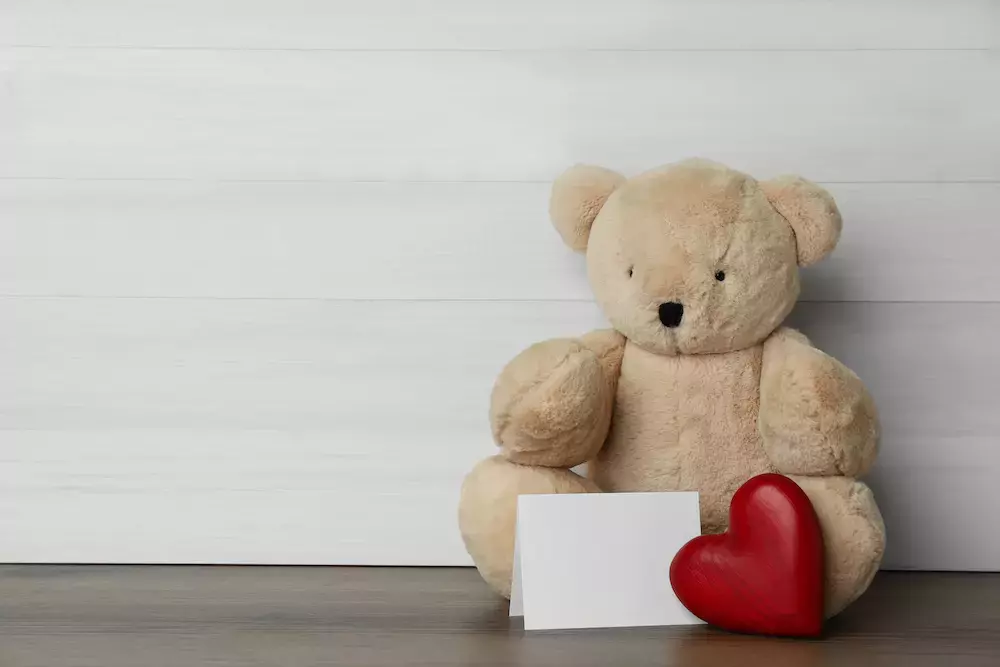
Advanced Sewing Projects: DIY Stuffed Bear
2022-09-08
Not many gifts are more meaningful than a handmade present for a loved one, and this DIY stuffed bear is the perfect gift for children. Plus, it’s a great challenge for avid seamsters looking for a more advanced craft.
What You’ll Need
Here’s what you’ll need for this DIY stuffed bear:
Main body fabric, one yard
Color detail fabric, ½ yard
Animal eyes, 18mm
Felt
Material for stuffing
Let’s get started!
Instructions
1. Print a stock pattern and glue it to cardboard so that you can easily trace your fabric throughout the process.
2. Cut your fabric pieces to match the pattern. Start with pieces right side in.
3. Sew ear pieces right sides together and leave a straight portion unsewn. Turn it right side out.
4. Sew forehead and side head pieces, then attach the ear pieces in the right spot with your sewing machine.
5. Attach the mouth and forehead pieces.
6. Sew the mouth center seam and then sew a center seam along the back of the head.
7. With your sewing machine, attach the head from back to front and turn it all right side out.
8. Sew a center seam through the belly piece, then attach the hand fronts and leg fronts to their pairs.
9. Connect the arm and leg pieces to the belly according to your pattern, ensuring that the leg’s outside edge is on the outside.
10. Pin and stitch the body closed with your sewing machine, leaving openings for stuffing.
11. Sew the tail together, leaving an opening, and turn right side out.
12. Sew the back center seam with the tail attached.
13. Sew the bottom leg center seam together and attach it to the back piece, matching it to the pattern.
14. Attach the back of the arm piece to the back piece, then sew the front piece to the back piece with the neck and feet left open.
15. Once the body is all sewed together (minus the openings) and turned right side out, add the face details, including the eyes, felt nose, and stitched mouth.
16. Sew the head and body together and add stuffing into the openings.
17. Stitch the openings closed with your sewing machine.
All the DIY Ideas You Could Ever Want
And now you’re ready to give your loved one the perfect heartfelt gift! Looking for more DIY sewing machine crafts and tools? Check us out at Goldstar Tool.


