DIY: Fun Summer Clutch
2019-06-25
A night out, a day at the beach, or while waiting to get on the next ride at the fair, a summer clutch is perfect for any occasion. This fun project is easy, and it gives beginners the chance to work with sewing a zipper, and if you haven't sewn a zipper before you'll find it surprisingly easy!
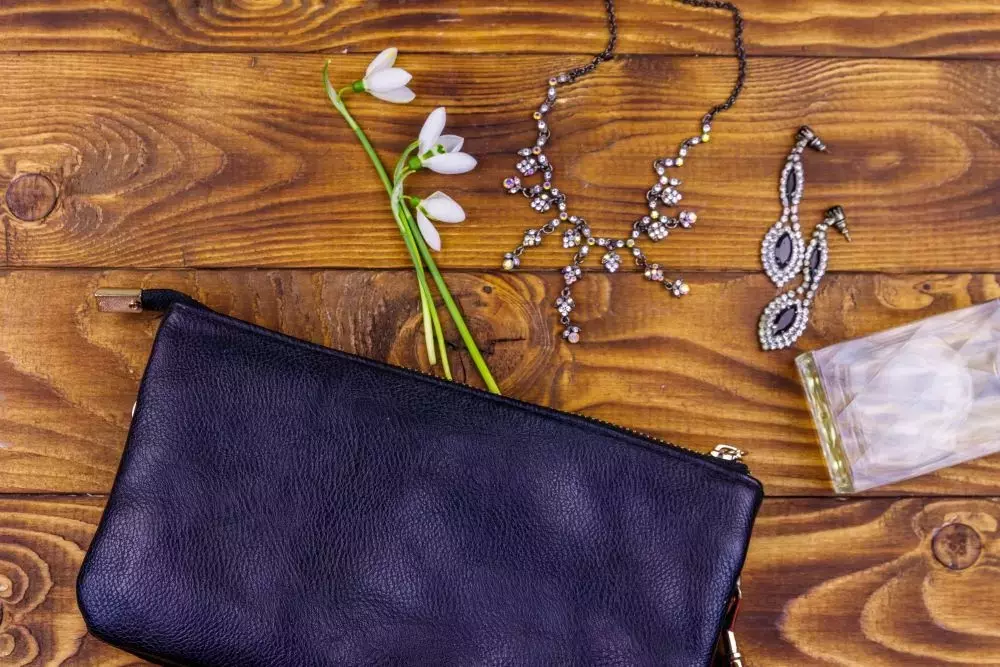
This folding zippered clutch is perfect for summer, fits easily into your hand, and will keep you looking professional through it all!
Gather Your Supplies
One of the best parts of a project is picking out fabric. This clutch doesn't call for much material, which gives any crafter the great excuse to buy a few different fabrics... You know, to make two, or three… You can never have too many clutches, plus your friends need clutches too!
What you need:
- Sewing machine
- 1 – 7” or longer zipper
- Iron-on adhesive or Stitch Witchery
- Zipper food
- 1/3 yard inner lining
- 1/3 yard exterior fabric
- Matching thread
- Sewing needle
With both your inner lining and exterior fabric, you'll cut these pieces to 9 1/2-inch by 11-inch blocks. You will also need two squares cut 2-inches by 2-inches. As always, be sure to iron before you cut.
Shorten Your Zipper
It's not intimidating, but it does require a little bit of muscle. First, line up your zipper across one of your fabric blocks. The very top of the zipper's "excess" fabric should be flush with the edge of the fabric piece. Then chop off the part of the zipper that extends past the other side of your fabric.
A special note: do not use your fabric scissors. It will damage them, and they are not strong enough. Instead, you will need kitchen shears or a sturdy pair of utility scissors.
After you get rid of the unnecessary bit of zipper, you'll need to make a new zipper stop. Take a needle and thread and go back and forth across the zipper. You want to make the zipper stop about two or three teeth in from the bottom.
Making Your Zipper Tabs
Take your two 2"x 2" squares and fold each in half. Iron each to make a crease. Then fold and crease again to make double-fold bias tape. Placing the raw edges of the tab facing upward, and placed underneath your zipper, you want to make a sandwich using the zipper and the zipper tab.
Pin or clip your zipper tab into place and sew, leaving a 1/4-inch seam allowance to secure the tab to the zipper. You may have to hand-crank your sewing machine over the zipper teeth, be careful not to break your needle.
Making the Pouch
Now, here is the fun part! Taking your outer material, place it right side up with the zipper face down over the fabric. Then take the inner lining material and place it over your zipper matching the edges. Make sure that all three layers even up nicely and clip or pin into place.
Change the foot on your sewing machine for a zipper foot and sew the layers together. The primary difficulty is keeping the seam allowance constant. For those new to handling a zipper foot, you don't have to put so much resistance against it. Seeing the zipper isn't terrible, and sometimes it can give a little shine of color.
When this side is done, do the same layering for the other side of the zipper. Your outer fabric should sit with the "right side" facing the right side of the same fabric that you just sewed into place. Then add your inner layer on, pin, and sew into place.
After you have both sides of the zipper sewn into place, you'll need to press them. Topstitch along the zipper. This stitch will go through the main fabric and the lining. Afterward, lay the bag out flat with the main fabrics facing up.
Open your zipper! Then pull the top fabric from one side to the other. At this point, both of your outside fabrics should be on the sides and then line up your lining fabric. Clip or pin all the fabric into place and sew around the entire pouch with a 4 to 5-inch opening at the bottom of the inner lining.
Trim all the corners and pull the bag through the opening in the lining. Use your ironing bond, or Stitch Witchery that you purchased from Goldstar Tool to close the final opening in your lining.


