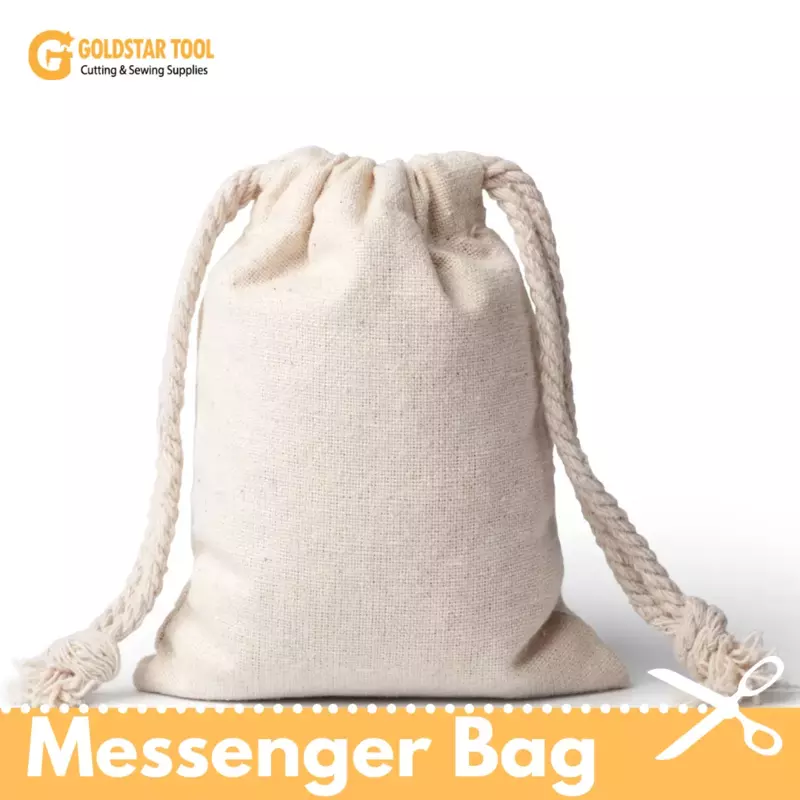
Kids Craft Series: Easy Child’s Messenger Bag
2020-06-02
This is the perfect activity for children. Not only is this messenger fun to create, but it is a project they can do one their own!
That's right.
If you've introduced your child to the art of sewing, then with a little help, they should be able to make this messenger bag on their own. This bag is great for holding everything from barrettes and hair ties to a snazzy rock collection.
The pattern is as follows (but don't cut yet!):
- 4 - 6x4-inch rectangle with slightly rounded "bottoms."
- 2 – 4x4-inch square (flaps)
- 2 – 4x 20-inch rectangle (strap)
Altogether you'll need 1/3-yard of two fabrics or 1/2-yard with directional fabric.
Cut Your Pieces
Okay, it’s easy to cut out the front fabric in a 4x6 rectangle. However, before you go cutting out the back part, you’ll want to cut your back and flaps together, then snip it, so you have a clean line.
Essentially, you should cut out one big 10x4-inch piece, then cut the piece again at the 6-inch long mark.
Then, cut another square to match the flap pattern you just cut.
Many people use two or more patterned fabrics to give this bag an extra fun twist. The inside of the bag will be one pattern, and the outside will be another. That’s why your flap must have one of each.
Make Your Strap
Take your long rectangles and press them with the right sides together. Sew them leaving the short sides open, so you should only have one long straight stitch running with the raw edge.
Turn the strap and set it aside.
Creating Your Pieces
Instead of making your front and back pieces, you’ll be creating the “inner” and “outer” pieces. Create your inner peace by taking the front and back portion of the same fabrics and stitch them (right sides facing), leaving the top open. Then attach the back panel of the same fabric to the flap. Do this same step with the “outer” fabric pieces.
Put your inside and outside pieces together with the right sides touching.
Then, while you’re at it, add the strap. The strap will sit inside the purse within the two right side facing fabrics. So you should only see the tips of the strap poking out from the top of the inside out bag.
Sew It Up!
Time to finish up your bag!
You’ll have the back of the fabric facing you while you’re sitting at the sewing machine. Start stitching about midway through the flap section and make one long stitch down the side. Take note that you might struggle a little going over the strap.
Just take your time; this is a great first project for anyone new to using a sewing machine.
Go all the way around the bag until you have a few inches of opening left and turn your project. Add one long top stitch across the top of the flap to seal the opening you used to turn, and you’re done!
Once you have finished your bag, show it off by sharing it on social media. When you do, be sure to tag GoldStar Tool so we can see what you’ve created!


