Easy DIY Tie Scrunchie
2019-06-11
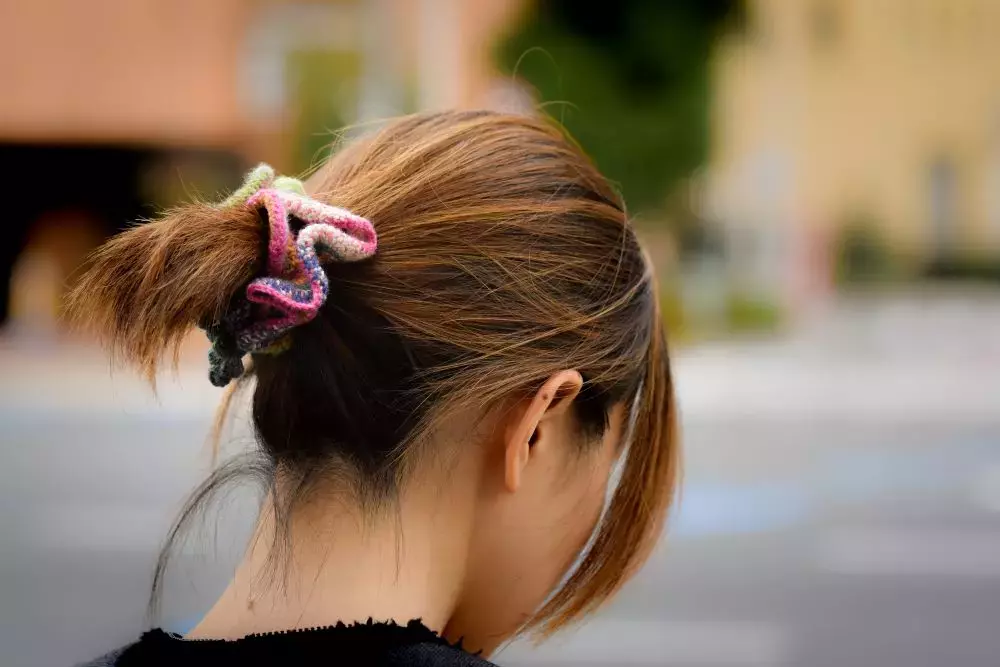
Who else is loving that scrunchies are making a comeback? They're back, they're easy to sew, and you can make a ton of them from fabric scraps you have lying around, making them one of the best crafts. On top of having these easy to sew projects on hand and today's trends on our side, this scrunchie project is also an excellent way to teach children and teens to sew.
These projects only take a few minutes and can give any new crafter a huge confidence boost. With a few steps, you'll have a high-quality scrunchie that is unique, and made by you!
Step One: Find Your Fabric
If you’re a seasoned crafter, you probably have a fair amount of fabric scraps on hand. If you want some new prints or this is your first project, head over to your local fabric store.
When shopping, or surveying your fabric stash, use only light and medium weight fabrics. Anything too heavy won’t have the flex that you need for a good scrunchie. Our top picks are rayon, velour, crepe, and even chiffon. You can choose any kind of knit which opens you up to a massive amount of fun patterns for children and teens too.
Step Two: Gather Your Materials
Each scrunchie will need:
- 1/8th yard of fabric
- 6 and 1/2 inch piece of 1/4 inch wide elastic.
- Stretch needs
- Safety pin
- Scissors or rotary cutter
- Sewing machine
Additionally, you can use a tube turning tool and pinking shears to save you a ton of time. If you’re working with really small children, you might consider having some fabric glue on hand and if you’re an expert sewer, then you most likely already have cutting accessories such as mats. These things are always nice to have on hand, but you don’t need to blow hundreds at your craft store in one visit.
The best advice for beginners is to invest in a high-quality sewing machine and then slowly buy other pieces such as a rotary cutter and mat. Sewing machines and patience are really what makes all the difference in quality.
Step Three: Ironing and Cutting
Ironing should be in the top three holy commandments of crafting. Ironing your fabric will make a huge difference in the quality of your finished product. Iron your material and then cut the following:
- 1 – 18” x 4” strip
- 1 – 9” x 4” strip
- 1 – 6 1/2” x 1/4” elastic strip
Step Four: Folding and Stitching
Are you ready? All that prep is about to pay off in just a manner of minutes! Fold the shorter end of your 18" strip to the wrong side and iron it. Then, fold your bit of fabric lengthwise (hotdog style) and pin down the long edge. Stitch that edge right up and sew one side of the tube closed. Your material should be wrong side out.
Turn your tube of fabric, so the right side of the fabric is now visible, and then use a safety pin to work the elastic strip through. If you try to pin the elastic into place before turning the fabric, it will make the entire process of turning the material unbelievably difficult.
Sew the elastic into place and then finish the tube with a seam, stitch back and forth a few times for a really good hold. When working with elastic, sew with the pins still holding it in place.
Finally, you're going to cover up that unsightly connecting seam with a cute tie. Take your 9-inch strip and fold it lengthwise, with the right sides in again. Then sew across the edge a 1/4-inch seam allowance. As you round the outside corners, curve your stitch. Feel free to do this by sight as there is no need to draw it out first. Cut open just enough of one of the corners to turn your fabric.
Then, tie your tie around the seam on your scrunchie and give it one or two hand stitches in a matching thread to hold it into place. There's no need to close up the edge you opened, and you have a wonderful scrunchie!
Whether you are shopping for sewing machines or tools for your next project, Goldstar Tools has everything you need.


