Here is How You Easily Stitch a Straight Line
2020-06-01
Whether you are a new sewer or have been sewing for a while, there is no shame in having trouble sewing a straight line. It is a common problem that so many people struggle with, and it is much like drawing a straight line... forget about it!
The good news is, there are technical elements in sewing that can ensure you stitch a straight line almost every time. Sewing is where creativity meets practicality!
Factors That Impact Your Stitches and Lines
Most sewers who’ve spent years behind a sewing machine, feel that they can just sit down and go. However, if you want to sew straight lines, there are three elements you need to evaluate before you get started; otherwise, you risk your lines becoming wonky:
- Machine tension settings
- Type of fabric
- Correlating type of needle
Choosing The Right Materials
Your materials will always vary based on fabric choices and patterns. Working with Minky or jersey knit is dramatically different from cotton. If you’re new, stick to cotton first. As you branch out, make sure you’re using the right needle, not only to create straight lines but for safety reasons, too.
Here are some examples of various fabrics with the needle we recommend using:
- Knit fabrics – Ball-point needles with a medium tip
- Silks or microfiber – Sharp/mictorex
- Denim or canvas – Demin needles
- Cotton (and most other fabrics) – Universal needle
Aside from your basic fabrics and needles, you also have particular situations that may call for specialty needles.
For example, you may need specialty needles for quilting, serging, and double top-stitching, just to name a few.
It’s always worth doing a little research before deciding on a needle, but if you’re not sure, a universal needle is probably the best choice.
The next material to consider is the thread. When working with cotton, a polyester or poly-cotton blend is better than a pure cotton thread. Polyester or poly-cotton threads are more durable than other options. The added strength will help build consistency throughout your stitching with fewer breaks and bunches.
Set Your Machine Up Correctly
You’ll need to give special attention to your bobbin, stitch length, and tension settings. To start with your bobbin, ensure it has enough thread to last through what you’re working on.
Then, insert the bobbin, and turn the handwheel clockwise. Turning the wheel will pull the bobbin thread out and up over the surface. Keep your excess bobbin thread at least .5 centimeters long so that the initial stitch doesn’t come undone.
Then, turn to your stitch length. For cotton, set the dial to number three. Number three is the average stitch length setting. It generally looks nice and neat.
Your tension is a big deal. For cotton, set this right in the middle, and it shouldn’t unnecessarily pull or bunch the fabric, resulting in a crooked line.
Start Stitching (Straight)
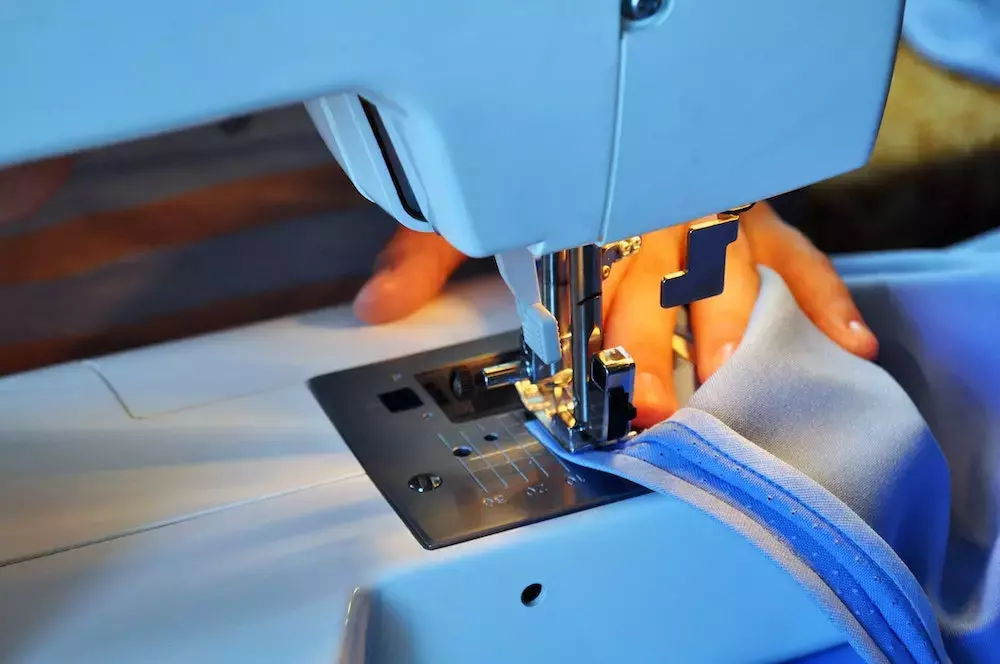
Sew ahead! Place your fabric under the needle, and use the guide on your machine or a magnetic guide. The guides help prevent you from misdirecting the material, although, with a sewing machine, you shouldn’t have to pull or direct the fabric at all.
Always ensure that you’re only lightly guiding the fabric through the machine for the straightest stitches.
Whether you are a beginner or have been sewing for years, GoldStar Tool has the tools and materials you need for your next project. Check out our large inventory of machines, tools, and materials. We have everything you need to get started on your next project!


