How Beginners Can Sew with Elastic Like a Pro
2025-08-06
Sewing with elastic can elevate your sewing project. Elastic gives the stretch and structure needed to make well-fitting waistbands, shirt cuffs and more. To sew professionally or make high quality clothes, you will need to know how to add elastic.
There are two primary ways to sew elastic into garments. The two ways are direct sewing and using an elastic casing. We’ll teach you both methods so you can create pieces that fit perfectly. Use our guide to get started on your next creative sewing project.
Consider What You Want to Achieve When Sewing With Elastic
How do you know whether to sew elastic directly into a garment or use a casing? The answer depends on what you’re looking for.
Gathering fabric requires drawing it up into a line of stitching on the garment. This gives a neat yet bunched-up look to many waistbands and necklines.
If you want the ruffled look you should use the direct sewing method to add elastic.
Elastic casings are special channels that hold elastic bands in clothing. If you need your fabric to lie flat and smooth against the elastic band, a casing is your best bet. You can also use elastic casings to create adjustable garment areas, like drawstrings on pants.
How to Add Elastic Directly to a Garment Through The Direct Sewing Method
The direct sewing method takes some practice, but the creativity you will have in your future garments is priceless.
1. Take Accurate Body Measurements
First take measurements of the area that the elastic band will wrap around the person who wears it.
If you’re going for a slimmer fit, subtract two to four inches from your measurements. Once you feel confident in the length, cut the elastic.
2. Connect the Ends of the Elastic Band
Sew the ends of the elastic band together. A zigzag stitch will keep it secure especially if you sew over the connecting spot more than once.
If you want to eliminate awkward bumps or bulk in the elastic, sew a piece of fabric over the ends to smooth things out.
3. Pin the Elastic to Your Garment
Now it’s time to place your elastic band. Use four pins with equal amounts of space between them to attach the elastic band to the seam or other desired spot on your garment.
You want four even sections to work with as you sew the elastic in place. If you’re working near the edge of a piece of fabric, make sure the elastic band is at least a quarter of an inch below the edge.
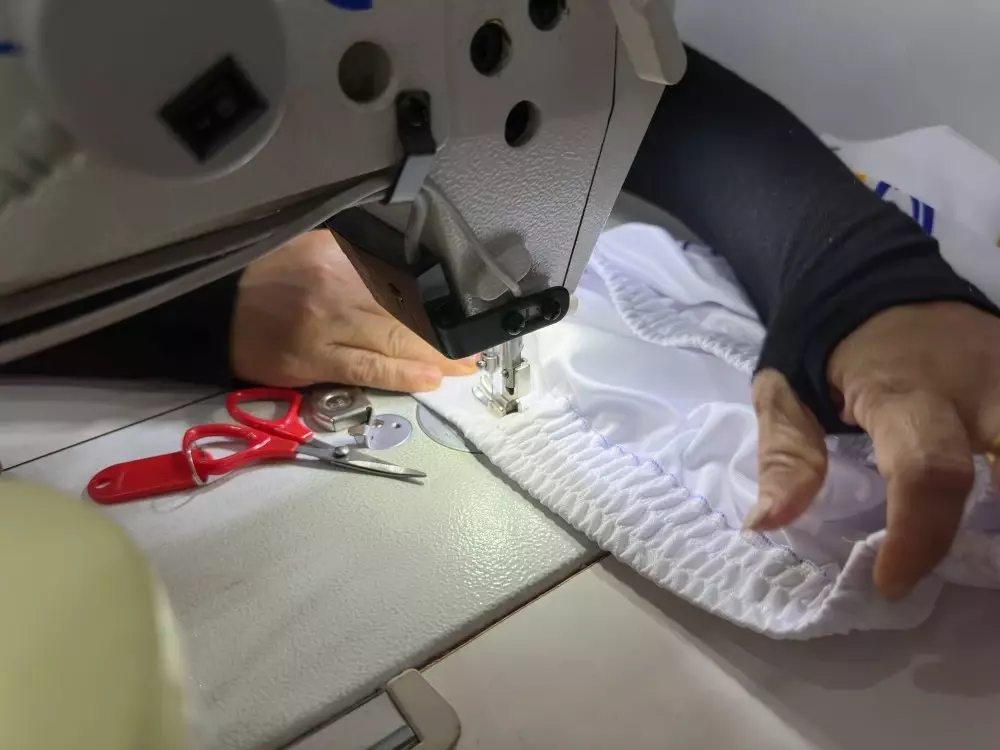
4. Sew With a Zigzag Stitch
Use a zigzag stitch to sew the elastic band to the fabric. If needed, slightly stretch the elastic to ensure its length matches up with the attached piece of fabric.
Your zigzag stitches should extend all the way around the elastic band, slightly overlapping at the starting point for security.
5. Cover the Elastic Band (Optional)
If you don’t want the elastic to be visible in your garment, evenly fold the top edge of the fabric over the band. Fold in an inward direction for a smoother more discreet look.
Then sew the edge of the fold to the bottom of the elastic band using a zigzag stitch. As you stitch, pull the fabric and elastic band slightly to ensure the lengths are equal. Keep the stitches as close to the bottom edge of the fabric as possible. This will hold everything together neatly.
How to Sew an Elastic Casing Into a Garment
For the elastic casing method, you’ll sew a tunnel to feed the elastic band through. This method is great for making smooth waistbands or cuffs.
1. Measure Your Elastic Band Width
The casing on your garment should be about a half-inch wider than the elastic band itself. Take accurate measurements before you begin.
2. Create a Fold According to Your Measurements
Using this measurement, fold over the fabric where you will place the elastic band. Fold it evenly toward the inside of the garment to avoid raw edges. Secure this fold using pins.
3. Mark an Opening for the Elastic Band
Mark off an area on the casing where you can easily slide the elastic band in. The opening should be wider than the band by about a quarter-inch. You can use fabric chalk or pins to mark this opening.
4. Sew the Bottom of the Casing
To create a secure casing, sew the bottom edge of the folded fabric. Use a straight stitch spaced about a quarter-inch from the fabric’s edge. Do not sew over the marked opening for the elastic band.
5. Prepare the Elastic Band
Prep the elastic band to enter the casing by cutting it to the right length for your garment. Then attach a safety pin to the end of the elastic band to make it easier to slide it through the casing. Make sure the pin is closed before moving to the next step.
6. Feed the Elastic Through the Casing
Using the marked opening you left for the elastic band, feed the band through the casing. This takes careful manipulation of the fabric and safety pin to avoid twisting the elastic band or popping the safety pin open.
7. Sew the Ends of the Elastic and the Casing
Use a zigzag stitch to secure the ends of the elastic band and unite them. Next, you can safely close the casing by sewing over the marked opening you left for the elastic band.
Get the Supplies You Need to Sew Like a Pro
Sewing with elastic is a great skill to have in your fashion arsenal. Choosing good quality elastic is the key to sewing in long lasting stretch into your garments.
At GoldStar Tool we have the sewing supplies you need to make beautiful pieces that will hold their shape. Shop now!


