How to Easily Pin a Seam
2019-08-16
For anyone just learning how to sew, pinning a seam is an intimidating process. However, as you use sewing patterns, you'll see this instruction again and again. So how can you easily pin the seam? It is much easier than it initially seems, not to mention it will have a substantial impact on the results of your projects, whether you are starting from scratch or altering an already existing item.
Pinning a seam not only holds the layers of fabric together, but it helps to identify when one material is moving or pulling. When you pin seams, you can put your focus on the actual act of sewing rather than keeping two materials matched, and it can help create more precise and professional-looking seams.
Line Up the Ends
Always start by lining up the pieces and find the ends of your seam. Make sure the fabrics lay nicely together and are both flat. Take the time to smooth out your materials as it will help prevent bunching.
Pin by Demand of the Fabric
Different fabrics have different needs. It's a hard truth that every sewer learns at some point. Pinning is one of the more arduous tasks when it comes to accommodating the differences between fabrics. For example, Minky fabric needs almost end to end pinning, whereas cotton fabric can be pinned every four inches.
If you feel that the fabric is bunching, moving, or stretching, use more pins.
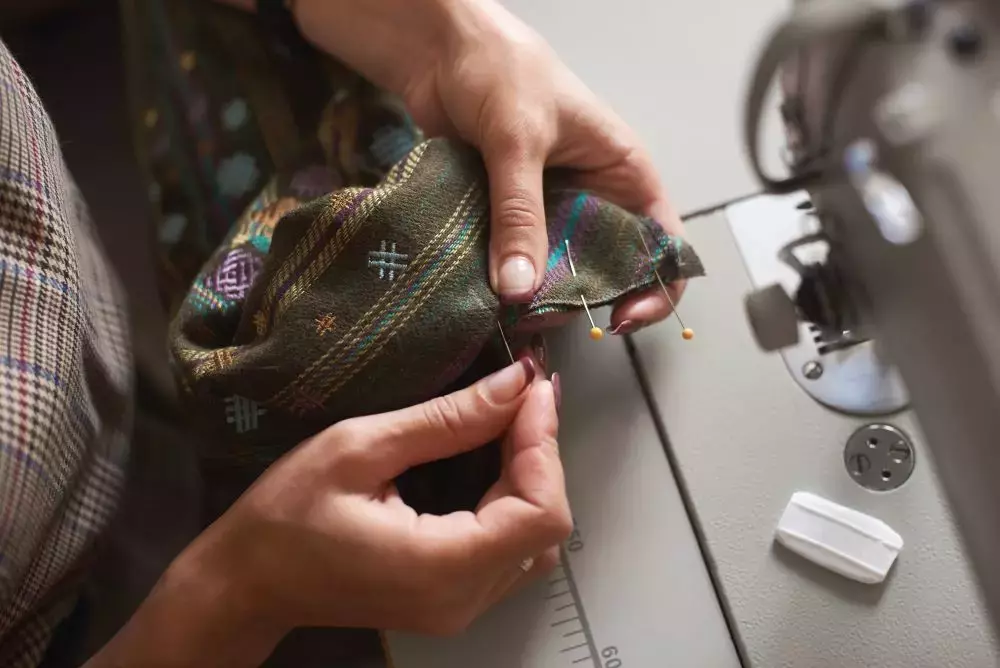
Pin on the Perpendicular
It's a little-known trick, but you should not pin in the line of the seam. Instead, pin into the fabric at a 90-degree angle or on the perpendicular. Pin inward from any raw edge.
By pinning inward from the raw edge, you accomplish several things. First, it makes it easier to remove pins as your sewing. Second, it keeps the fabric smoothed over further inward from the intended seam. Finally, it allows you to stop and make corrections more quickly if something goes wrong as you can rely on pins as markers.
Remove Pins as You Sew
Failing to remove pins as you sew can damage sewing machines and lead to injuries. Always take the time to remove pins as you stitch to avoid injury, damage to your machine, and inferior stitch quality.
Use Your Seam as a Guide
As you're ready to finish the seam, you'll want to ensure that the seam lays flat. However, you don't want the ends to match up exactly as you examine your seam chuck for stretched or pulled fabric and ensure that no pins are remaining in your fabric.
Sewing seams doesn’t have to be intimidating. Next time you have a project that requires you to stitch seams, follow these directions to get a nice, professional seam every time. Also, be sure to check out GoldStar Tool’s selection of pins so you can start correctly pinning down those seams.


