How to Make Campaign Buttons in Time for Election Season
2018-11-02
How to Make Campaign Buttons in Time for Election Season
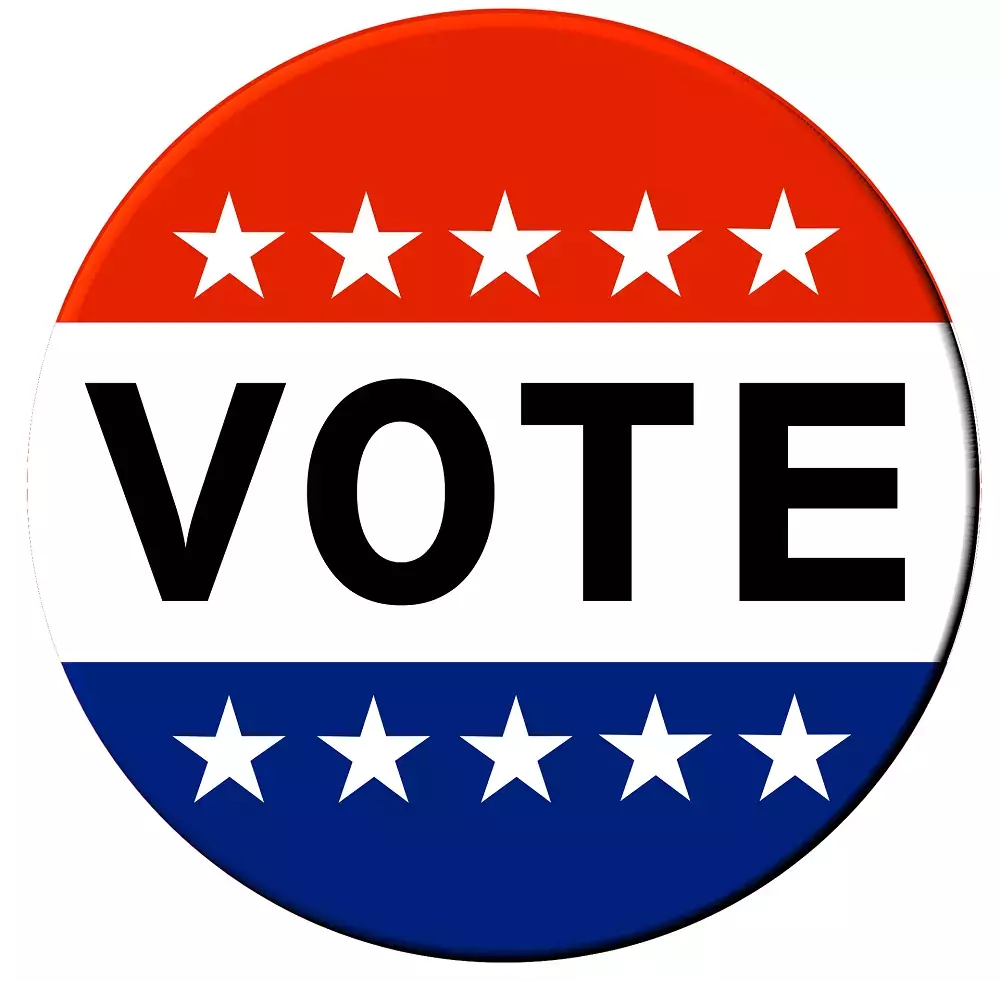
Show your support through local elections and the mid-terms this year with homemade campaign buttons. Handmade buttons are easy to make and only require a few materials. Let's get started!
What Materials You Will Need
Everyone will need:
- A button badge machine
- Collet (plastic covers)
- Metal button shells
- Metal button pin-backs
Button badge machines come in a few different styles but they almost all work about the same way. Aside from button badge machines and the pin-back button assembly, you’ll need a design. Your design could come from a variety of sources, or you could make a unique design yourself.
1. Create a Design!
Creating a design is the fun part of making campaign buttons, and there are a few different ways to show your support.
With a local election flyer, you can use your candidate’s slogan or last name. If you plan to distribute pins, contact someone handling the campaign for the candidate to get permission!
Now, if you’re having fun and want to craft something original, try using design websites which allow you to create stunning button designs in just a few minutes.
2. Get Printing
Of course, you'll need to bring your design into the real world, and the only way to do that is to print it out. For anyone using a flyer or campaign handout from a preferred candidate or party office, you can easily print these at home.
But, if you're supporting or promoting your campaign, you'll probably want something with higher quality. Inkjet and laser printers are both excellent options as well as taking your designs to a local printing shop.
3. Cut and Trim for Neat Circles
Using a template for your button size will save you ink and help guide your hand when you trim them into their final shape. Of course, you can invest in a circular cutter which is useful for more than just campaign buttons.
If you’re hand trimming your button designs, you don’t need absolutely perfect circles. However, if your printed design doesn’t cover the entirety of the plastic cover of the button, you’ll see the metallic backing of the pin around your design. Keep this in mind when you’re trimming. The button badge machines just need the printed design close to the right size, and a little extra paper is better than a design that's too small.
4. Using the Button Badge Machine
Everything up until now has been preparation. Grab a seat and get ready to finish your buttons! To use the button badge machine:
- Insert the metal button shell into the cup on the left of the button badge machine’s lever.
- Place the design face up, layered on top of the button’s shell.
- Place the clear Mylar cover (called the Collet) over the design or try blank badges specifically for certain machines
- Pull the lever down and release.
- Insert the metal pin-back portion in the cup to the right of the machine’s lever. (safety-pin on the bottom)
- Pull the lever down and release again.
While some button badge machines require you to line up the press with the lever, most newer button maker machines will center the button with the press for you. Although the first few buttons might seem difficult to press, you’ll quickly get the hang of it and be campaigning in no time.
Whether you’re an individual or business, check out GoldStar Tool’s extensive selection of items for your sewing and crafting needs.


