How to Remove and Replace Broken Grommets
2023-08-08
Even the hardiest, sturdiest fabrics can tear and fray over time. Leather and vinyl, despite their strength, can stretch and rip with enough stress. Items you like get worn out of use, while the ones you don’t care for stay pristine in storage.
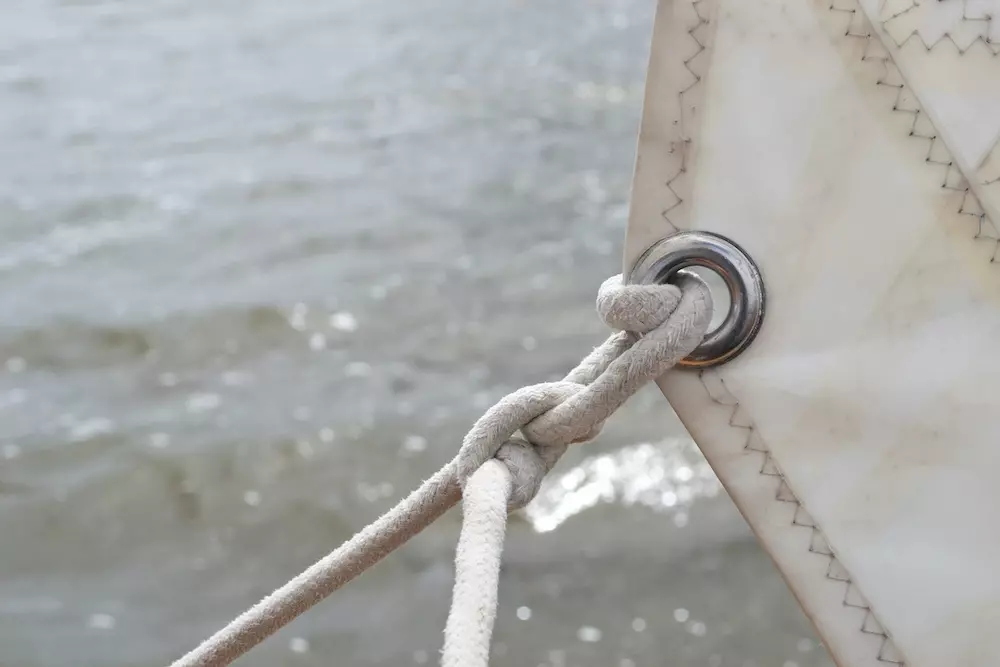
Thankfully, using grommets to reinforce holes works wonders. Grommets are small metal rings that give strength and stability. For example, a tarp has grommets around the edges and corners for tying ropes through.
But what can you do when the grommet breaks? It’s designed to protect the fabric and help it withstand greater forces, but grommets can break or loosen over time. All you have to do is replace them. There are only a few tools needed, and the process is straightforward.
Preparing for Replacement
First, assess your garment, tarp, tent, or any item with a loose or broken grommet. Do you need to repair the material first? The new grommet won't stay in if your fabric, leather, or other material is ripped or torn. Assuming you can repair the item or the hole isn’t badly damaged, you’ll need to check the size of the grommet.
Grommets come in many sizes, with #00000 being the smallest with a 3.5mm outer diameter and #15 being the largest with a 75mm outer diameter.
There can be custom sizes, of course, and variations for inside diameter and depth, but all you have to do is measure your grommets and use their size as a guide when purchasing new ones.
Selecting Your Tools and Materials
Here’s what you’ll need in terms of tools:
- Wire cutter or snips
- An anvil/handsetter for grommets
- A hammer or, preferably, a rubber mallet
- A set of wire cutters or snips
- Safety glasses
You can also opt for a heavy-duty press if you insert grommets regularly. The press would take the place of both the anvil and hammer.
As for the materials, you’ll need new grommets to replace your old ones. Be cautious when ordering; you want to ensure that your new grommets are the same style and material as the ones on the garment.
How to Install Your New Grommets
Before you get started, don your safety glasses. When you are twisting and hammering metal, it is better to be safe than sorry! Now, here are the steps:
1. Removing the Old Grommet
Grab your wire cutters or snips. You will use them to dig under the edge of the broken grommet and twist it inward. You can also use a screwdriver and hammer to deform the inner part of the grommet out of the outer washer, but the wire snips method is less prone to slipping and accidentally damaging the garment.
If you need to, you can also use the wire snips to cut sections of the broken grommet out.
2. Inserting the New Grommet
Once you’ve removed the old grommet, place the new grommet into the hole. The washer should be on the top or outside, while the other part that looks like a small top hat goes through the back side.
3. Setting the Grommet
With the grommet in the hole, set up your unpunched grommet on top of the setter. Place the un-punched grommet on the anvil. Hammer the punch to join the two pieces together. It shouldn’t take more than a few well-placed blows since grommets are usually made from malleable yet sturdy metals such as brass or stainless steel.
4. Checking Your Work
As you’re setting the grommet, inspect it carefully. You want to be sure you haven’t cracked it and compromised its strength. Nor do you want to deform it to the point where you make it aesthetically unpleasing. If it is in good shape and secure, congratulations! You have successfully set a grommet and repaired your garment!
Goldstar Tool Has What You Need for Grommet Repairs
Our grommet handsetter or heavy-duty press machine will make grommet installation a cinch. Whether repairing an old garment or crafting a new one, you can trust the quality offerings from Goldstar Tool!


