How to Use Your Sewing Machine to Sew Buttons
2020-07-20
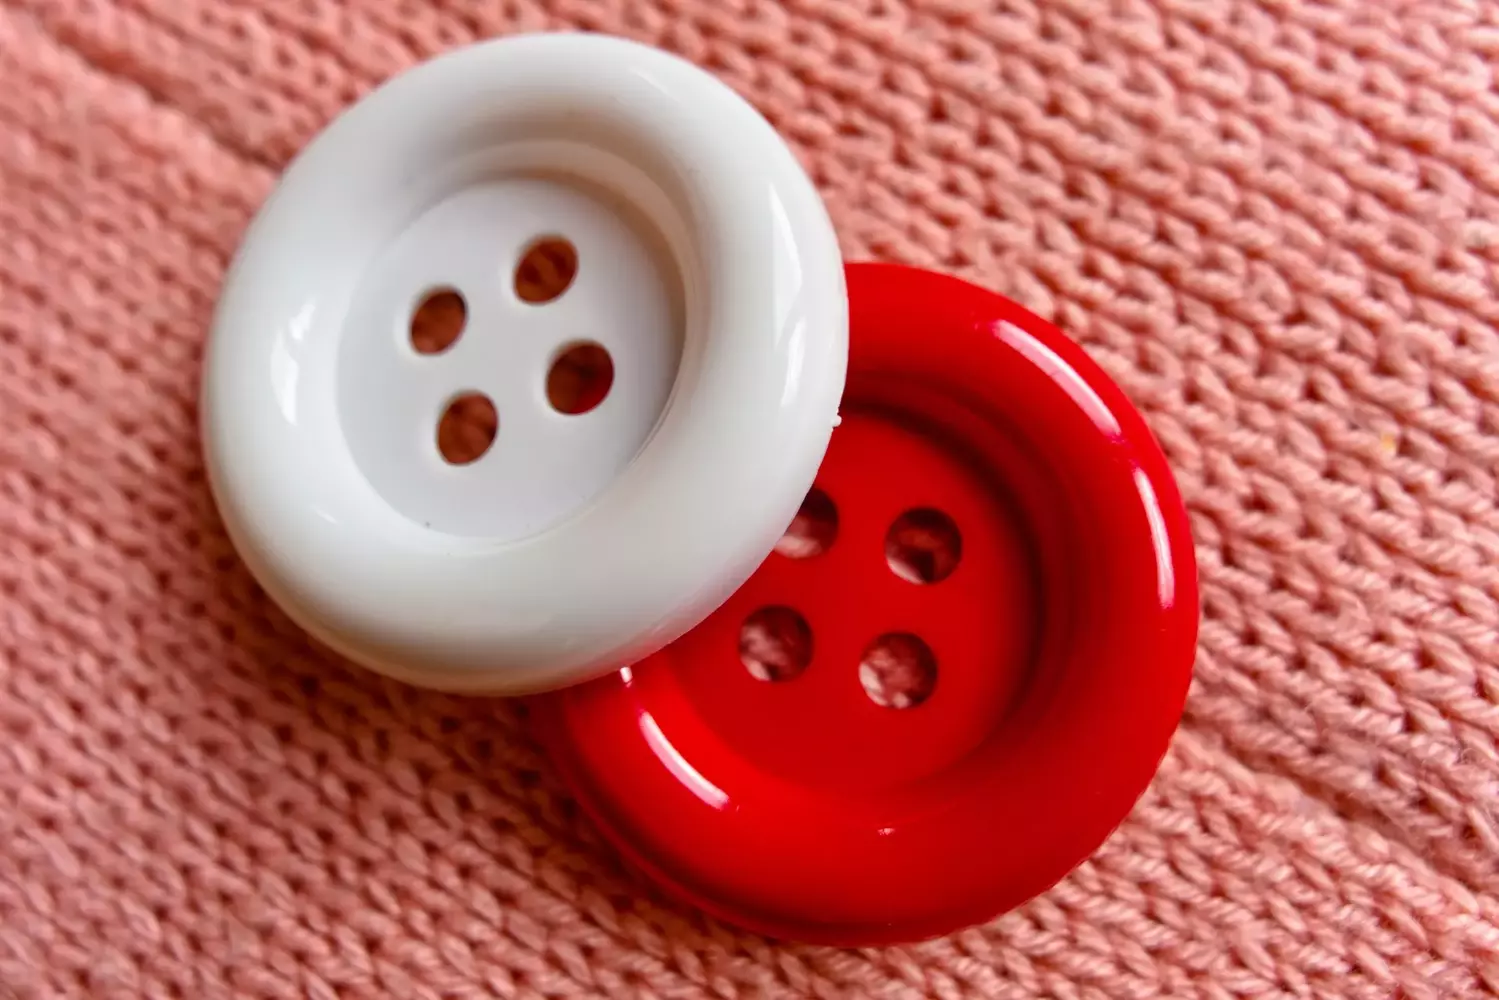
Sewing buttons is a great way to finish some projects or add a decorative flair to others. However, it can be a pain to put buttons into place, and many people who have spent years behind a sewing machine hate the idea of hand stitching anything. We don't blame you, buttons can be tedious, but it's pretty standard for sewing machines to have a feature to sew buttons into place with minimal effort.
The Devil's in the Details
The details when it comes to working with buttons are never too small to consider. When you're looking at which thread to use, find colors that either thoroughly blend into the button, or give a stark contrast. Whatever you do, you should probably use the same thread as you did for the buttonhole to provide it with a uniform look.
Besides that, the design and effect are up to you. If you're planning for a straight row of buttons such as on a dress shirt, you might consider marking out the intervals, spacing with a ruler, and then taping the buttons down. You can sew right over the scotch tape; it won't do anything to the machine or the fabric.
Set Everything Into Place
Your sewing machine might be able to do buttons even if it doesn't have a unique feature. But, special function or not, you'll need to ensure that everything is carefully in its place before you start applying buttons onto your fabric or projects.
Make sure that your button is located precisely where you want it to be; then you need to move onto your machine. Lower the feed dogs, so the fabric doesn't pull while you're running the needle. Most of the time, lowering your feed dogs is as easy as flipping a lever or switch.
Attach your button sewing foot. These feet will almost always connect in two places.
Select your stitch for button sewing. Your machine may have one stitch for buttons exclusively, or it may require you to go through your manual and find out which stitch is best for buttons. Usually, it's a zig-zag stitch. Then finally, set your stitch length to zero.
Test and Sew
Before you get started, you'll want to lower the needle down with the balance wheel or handwheel. The purpose of this test is to ensure that the needle comes down right into the center of the buttonhole, no broken needles here! Then you'll continue to hand crank the button into place. There are a few machines that can run with the foot pedal to put buttons into place, but often beginner sewers should stick with the hand crank.
Whether you're hand-cranking or using the foot pedal on a machine designed for button application, you'll want to give 8 to 10 stitches on each button. That will help ensure that it stays secure over the years. When you remove the button from the sewing machine, you'll want to keep about a 4-inch long tail of thread. Take the needle, weave your thread from its current position coming from the top of the button. Then rest it between the button and the fabric.
Afterward, wrap the tail around the underside of that button a few times and thread it through to the back of the fabric. Now there's no chance of losing any security with the button. If this still seems time-consuming, keep in mind that you'll get much faster as you do this more often.
Check out our vast selection of buttons, needles, and more to help you get that perfect project every time!


