Make Your Own Dog Booties
2021-02-25
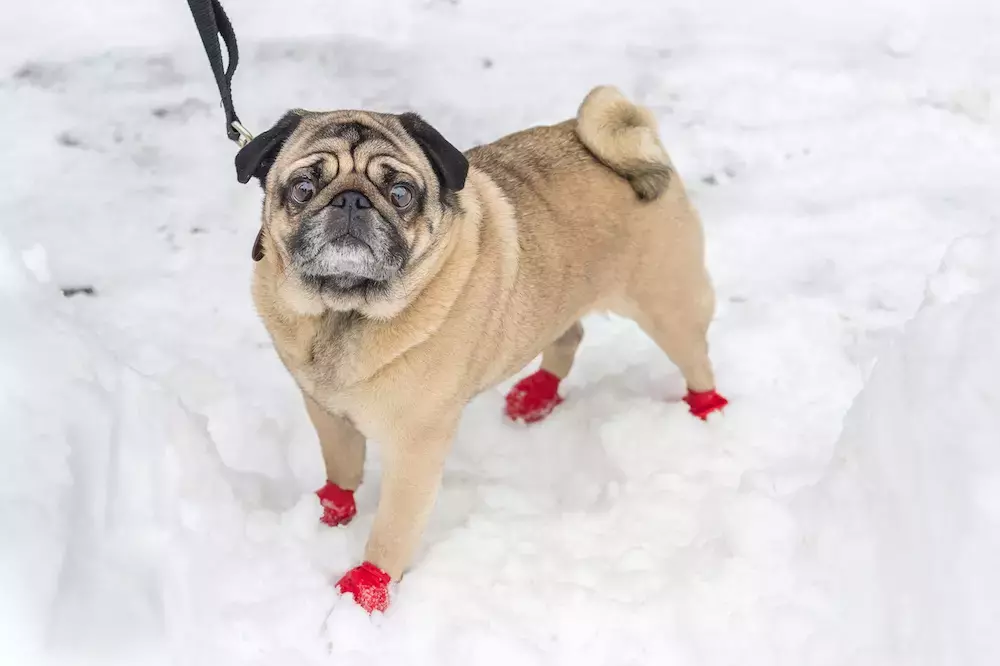
Pet owners know the struggle of watching their pet skip along cold surfaces or outright refuse to go outside. The solution is dog booties. Typically, dogs should wear booties when it is extremely cold (freezing or below) or if there are objects on the ground that can injure their pads. For example, if your street or sidewalk has salt down, then that salt could be poisonous or damaging to their sensitive pads.
Booties are also a great way to keep extra fluffy dogs from getting gross toes. Chows and other breeds with extra hair can gather little snowballs and generally unwanted dirt and grime along in that snow during cold weather. These booties can offer some protection and are easy to clean!
What You Need to Get Started:
- 2 to 4 feet of fleece (any color or pattern will do)
- 4 - 2-inch circles of suede, canvas, or any non/anti-slip fabric.
- 4 - 6-inch strips double-sided Velcro
- Sewing machine
- Heavy-duty thread
- Scissors
- Pencil and paper
Step One: Make Your Pattern
Hopefully, your dog will comply. If not, you might need to be sneaky and get them while they sleep. Because a bootie should be snug but not tight, you need to make your own pattern by tracing your pup’s paw. You can usually get away with just tracing one.
After you trace around the paw, add about an inch all the way around, trying to emphasize a “bow-tie” shape.
Step Two: Cut and Sew
The pattern you drew only makes up half the bootie, so you’re going to fold your fabric and cut the pattern on the fold. Do this for all of your dog’s paws, usually four.
Cut one strip of fabric for each paw, just long enough to snuggly wrap around the top of their ankle joints. If possible, try to keep these about two-inches wide.
Then, cut out four circles of any material that will help prevent slipping. Position these directly over where your dog’s pads will sit in the boot.
Cut out two strips of Velcro.
Straight stitch the non-slip material into place.
Straight stitch around the edge of the material, leaving the back end open for slipping the bootie off and on.
Straight stitch the thinner strip onto the back of the bootie’s open area, secure it with a box area.
Sew the Velcro onto the thinner strip for lacing.
Turn the project inside-out and sew along the toe fold giving 1/4-inch from the edge. Run a reverse stitch over each side of the toe flare for extra durability.
GoldStar Tool
We understand just how important pets are to their owners. Keeping your pet’s feet safe when the ground is too hot or too cold is essential to their health and happiness. But we know that each pet is different and sometimes the shoes you buy don’t fit properly. We hope you enjoyed this tutorial and can keep your pets happy! If you have any questions about our products or have trouble purchasing anything, please contact us.


