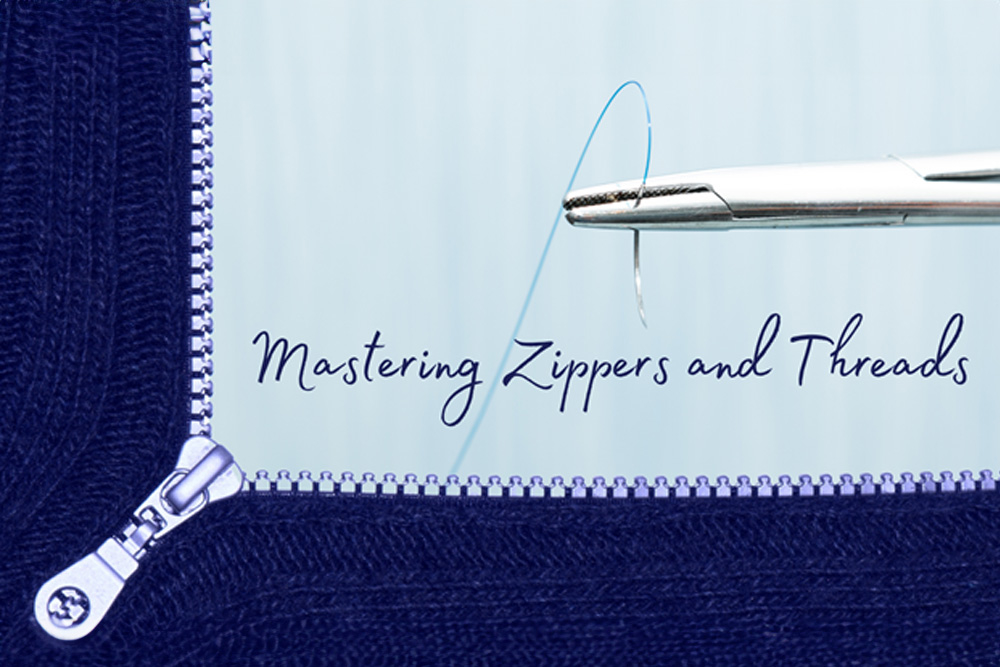
Mastering Zippers and Threads: Essential Tips for Seamless Sewing Projects
2024-04-28
Ever felt confused trying to choose the perfect thread or zipper for your sewing project?
It can be quite a stitch-up! Whether you're fixing a favorite jacket or crafting a couture piece, the devil is in the details—and that's exactly where zippers and threads come in. Understanding the different sewing thread types and selecting that 'just-right' zipper can uplift your sewing from functional to ideal.
What Are the Different Types of Sewing Threads and When Should I Use Them?
Choosing the right thread is crucial for sewing success.
Fiber Content:
Thread Type |
Fabric Use |
Pros |
Cons |
Natural |
Cotton, silk, wool |
- Breathable - Compatible with natural fibers |
- Weaker than synthetics (except silk) - Cotton can shrink |
Synthetic |
Polyester, nylon |
- Versatile & durable - Polyester for most fabrics, nylon for knits |
- Not as breathable as natural fibers |
Thread Weight:
Thread Weight |
Use |
Description |
Lightweight (higher numbers, e.g. 60wt) |
Delicate, fine fabrics |
Thin thread for minimal bulk, ideal for sheer fabrics or fine details |
Medium-weight (around 50wt) |
All-purpose threads |
Most common weight, suitable for a wide range of fabrics |
Heavyweight (lower numbers, e.g. 30wt) |
Topstitching, buttonholes, denim |
Thick thread for strength and visibility, good for sturdy fabrics and decorative topstitchin |
Choosing the Right Thread:
- Match thread weight to fabric weight: For lightweight fabrics, use lightweight thread. For heavy fabrics, use heavyweight thread.
- Match thread stretch to fabric stretch: Stretchy fabrics need threads with stretch (like nylon) to avoid breaking seams.
- Consider thread content: Natural threads breathe better but may be weaker. Synthetics are strong and versatile but less breathable.
The right thread can elevate your project. If you need more clarification, consult fabric recommendations or research specific thread types for your project.
How Can You Choose the Perfect Zipper for Your Sewing Project?
Selecting the right zipper involves considering the fabric you're working with and the function of the finished piece. If you're pondering choosing a zipper for fabrics, keep in mind that the zipper's material should complement the fabric. For instance, lightweight fabrics like chiffon or silk typically pair best with plastic zippers, which are less bulky and have a lower profile than metal options.
When it comes to zipper length selection, it's all about the specific needs of your project. Generally, the zipper should be slightly longer than its intended opening, ensuring ease of installation and functionality. Short zippers are ideal for skirts or pants, while longer ones are necessary for jackets and coats.
Plastic Zippers:
- Pros: Lightweight, available in numerous colors, less likely to corrode.
- Cons: It can be less durable than metal and may not pair well with heavier fabrics.
Metal Zippers:
- Pros: Strong and durable, offers a classic look, ideal for jeans and outerwear.
- Cons: Heavier can corrode over time, and there are limited color options.
What's the Relationship Between Fabric Type and Zipper Material?
Fabrics with more structure and weight, such as denim and canvas, stand up well to the sturdiness of metal zippers. On the other hand, delicate or stretch fabrics will benefit from the flexibility of plastic zippers. Always consider the end use; a heavy-duty jacket needs a robust metal zipper, whereas a sleek evening gown requires the subtlety of a plastic one.
Remember, besides just material and length, there's also the question of zipper teeth size and type – coil or chunky, visible or invisible. Each serves a different purpose and contributes differently to the functionality and aesthetic of your project.
It's all about matching the zipper not only to your fabric but also to the garment's purpose. Need a hand in choosing? This guide offers a clear starting point for making an informed decision.
What’s the Best Way to Sew a Zipper?
The best way starts with a step-by-step guide that makes putting in a zipper quick and easy, even for beginners. Let's look at how you can securely stitch in that zipper with precision, whether you're using a machine or opting for hand-sewn methods for those more delicate projects.
Machine Sewing a Zipper
- Prepare Your Fabric: Begin by finishing the fabric edges with zigzag stitches or a serger.
- Position the Zipper: Ensure the zipper lies flat and aligns with the fabric's finished edge. How do you properly position a zipper on the fabric? Lay the zipper face down on the right side of the fabric, making sure the teeth align with the seam allowance edge.
- Paste the Zipper: Baste it in place to prevent any movement during sewing.
- Press the Seam: Fold the seam allowance in half and press for a sharp edge.
- Pinning: Pin the zipper in place every 1-2 inches for stability.
- Attach the Zipper Foot: Fit your machine with a zipper foot for a close seam.
- Sew the Zipper: Stitch slowly alongside the zipper teeth, using backstitching at both ends for security.
Hand-Sewing a Zipper
If your project requires a gentler touch, hand-sewing a zipper might be the route to take. In order to hand sew a zipper, you will want to use small, tight stitches, ensuring your thread is knotted securely at the start and finish.
Best Practices
- Test on Scrap Fabric: Try out your zipper sewing on scrap material before moving onto the final project.
- Check Alignment: Make certain that your zipper is positioned correctly and that both sides are symmetrical.
- Remove Basting Stitches: After sewing, carefully remove the basting stitches.
Take the time to admire your precise work, for a well-sewn zipper is both functional and stylish. Remember, zippers are more than just practical; they add character to your garment, closing it up tight or creating a seamless look with an invisible zipper.
Sewing zippers into clothing doesn’t have to be intimidating; with these steps, you'll be ready to tackle that zipper installation with confidence.
How Do I Install a Zipper Using a Sewing Machine?
Step 1: Preparation
Begin by ensuring your fabric edges are neat, which involves serging or applying a zigzag stitch to prevent fraying.
Step 2: Attach Your Zipper to The Foot
When using a sewing machine zipper foot, attach it to your machine before you begin sewing. The zipper foot allows you to sew close to the zipper teeth, which is essential for a clean finish.
It usually snaps or screws on in place of the regular foot—a simple adjustment that's covered in your machine's manual.
Step 3: Begin Sewing!
Here's how to attach the zipper to your fabric:
Using a straight stitch and a medium stitch length, sew along the edge of the zipper tape, right next to the zipper teeth. Stop stitching about an inch (2.5 cm) from the bottom of the zipper.
Tip: Sew slowly and carefully, keeping the fabric straight as you stitch.
Sewing with Invisible Zippers
Invisible zippers can be a bit more challenging but follow a similar process. The secret is in ironing the zipper teeth flat and using an invisible zipper foot to stitch as closely to the teeth as possible without sewing over them.
Here’s a step-by-step rundown for an invisible zipper:
- Prepare your fabric edges and the zipper itself. If installing an invisible zipper, press the teeth flat.
- Position the zipper where it should go, face down against the right side of the fabric. The teeth should line up with the seam allowance.
- Baste the zipper in place to hold it steady; now it's time to add the zipper foot to your machine.
- Start sewing from the top of the zipper, keeping the needle close to the teeth. For an invisible zipper, use your invisible zipper foot here.
- Sew down one side, backstitch at the bottom, and up the other side to ensure symmetry.
- Finally, remove any basting stitches and admire your neat, functional zipper.
If you're new to this, remember to practice on scrap fabric. And there you have it! You’ve just installed a zipper using your sewing machine. Take a moment to appreciate how it elevates the functionality and style of your creation.
If you need more in-depth instructions or a visual aid, this invisible zipper guide can offer additional help, making the process clearer and helping you avoid common pitfalls.
How Can You Repair a Zipper at Home?
Encountering a malfunctioning zipper can be frustrating, particularly when it's on a favorite garment or piece of gear. Fortunately, many zipper issues can be remedied at home.
What are some common zipper issues?
Typically, these include a stuck slider, missing teeth, or a zipper that continuously splits open. Precision is ideal in diagnosing the exact problem before attempting a repair.
For a DIY zipper repair, you'll want to gather some basic tools: pliers, scissors, a sewing needle, and thread. If the issue is a stuck slider, the solution could be as simple as using a lubricant to ease its movement. Try rubbing a graphite pencil tip on the teeth on both sides of the zipper to unstick the slider.
What should you do if the zipper teeth are missing or damaged? If missing teeth or the zipper splits after zipping, you might consider a zipper replacement how-to, which involves removing the faulty zipper and sewing a new one. Here's a condensed guide:
1. Remove the broken zipper: Carefully use a seam ripper to detach the zipper from the fabric.
2. Prepare the new zipper: Choose a zipper of the same length and type as the old one.
3. Sew the new zipper: Pin the new zipper in place, and using a sewing needle and thread or a sewing machine with a zipper foot, replicate the original stitch pattern.
How to Troubleshoot a Zipper
- If the slider comes off entirely, you can reattach it by sliding it back onto the zipper tape at the bottom, ensuring it's oriented correctly before closing the stop at the bottom with pliers.
- However, if the issue is complex and these solutions don’t work, it might be time to consider professional help.
- A tailor can often perform seemingly miraculous repairs, or, for those cherished items, investing in a replacement might be the best option.
- Zipper repairs at home are a useful skill. You can save yourself the disappointment of parting with an otherwise functional item with a little practice. Remember, patience and careful work can often solve a problem when it comes to zippers.
What Are Some Essential Sewing Tips and Tricks for Working with Zippers and Threads?
Thread Tension Issues
Adjusting the tension is essential for zipper sewing. You want enough tension to create a neat and durable stitch but not so much that the thread breaks or the fabric puckers. Begin with a standard tension setting and adjust gradually based on the fabric and zipper type. Sew a test strip to check the stitch quality before proceeding with your final fabric.
Puckering
Zipper sewing tips for beginners often include hacks like using tape to hold the zipper in place instead of pins, which can cause puckering. This method can make inserting an invisible zipper easier, as it allows you to sew without removing the pins mid-process.
Sewing tips and tricks for preventing common sewing mistakes revolve around patience and precision.
Here's what you need to remember:
- Test your stitch on scrap fabric, especially if you are working with a new type of material or zipper. This will let you adjust the settings on your machine with confidence.
- Measure and mark the fabric beforehand to ensure proper zipper placement, reducing the risk of a misaligned closure.
- Use the right sewing machine foot; a standard zipper foot for regular zippers and an invisible zipper foot for invisible zippers, securing the thread with backstitching at both ends.
- Go slow to maintain control, especially around curves or corners where the zipper needs to fit precisely.
- Check your machine's health; a well-maintained machine is less likely to cause thread tension problems or break needles.
Remember, practice makes perfect. Don't be discouraged by mistakes—they're part of the learning curve in developing your sewing skills. Keep these tips in your sewing kit, and you'll be ready to tackle zippers and complex projects easily and confidently.
Which Threads Are Best for Sewing Zippers and Why?
Choosing the right thread for your zipper installation is key to a smooth-running, durable finished product. Here's a breakdown of the best options and why they excel:
Fabric Type |
Thread Recommendation |
Benefits |
General Purpose |
Nylon Thread |
- High tensile strength for frequent zipper use - Resilient against wear and tear - Lightweight and comes in various sizes for different fabrics and zipper weights - Slight elasticity for flexibility around the zipper |
Delicate Fabrics (Silk, Lightweight Cotton) |
Fine Polyester Thread |
- Offers some give to accommodate fabric movement - Less bulky seams compared to thicker threads - Less prone to breaking than cotton thread with zipper use |
Additional Considerations:
- Thread Color: Match the thread to your fabric for invisibility or use a contrasting color for a decorative touch.
- Thread Weight: Choose a thread weight that complements the fabric weight to prevent puckering or seam failure.
Thread Selection
Feature |
Nylon Thread |
Fine Polyester Thread |
Strength |
High |
Moderate |
Flexibility |
Moderate |
High |
Bulk in Seams |
Low |
Low-Very Low |
Breaking Risk |
Low |
Moderate |
Suitability for Delicate Fabrics |
No (too strong) |
Yes |
Best for Outdoor Gear & Bags |
Yes |
No |
Matching your thread to your fabric and zipper is crucial. When in doubt, consult a sewing professional or reference thread selection guides for more specific recommendations.
Stay Tuned for All Sewing Tips from GoldStar Tool!
Ready to take your sewing projects to the next level? Our latest blog offers essential tips for working with zippers and threads. Follow our social media to master seamless sewing techniques with GoldStar Tool!
FAQs
Q: What are the best types of threads for lightweight, breathable fabrics?
A: For lightweight, breathable fabrics, natural threads like cotton, silk, and wool are ideal. Cotton thread is great for quilting and everyday garments made of cotton. Silk thread pairs well with silk and wool materials due to its strength and elasticity. Wool thread is suitable for heavy fabrics like tweed and felt.
Q: When should I use synthetic threads such as polyester and nylon?
A: Synthetic threads are perfect for projects involving synthetic or stretch fabrics. Polyester is versatile and durable, making it suitable for most fabrics, especially synthetics. Nylon's stretchy nature is ideal for sewing knit fabrics that need elasticity.
Q: How does thread weight influence my sewing project?
A: Thread weight is crucial for matching to the fabric type:
- Use lightweight threads (like 60wt) for delicate fabrics.
- Medium-weight threads (around 50wt) are all-purpose and work for a variety of fabrics.
- Heavyweight threads (such as 30wt) are excellent for topstitching, buttonholes, and textiles like denim.
Q: How do I choose the right thread for a particular fabric?
A: To pick the right thread, ensure it has similar characteristics to the fabric, considering both weight and stretch. For stretchy fabrics, the thread should also be stretchable, while durable threads are suited for sturdy materials.
Q: Can the wrong thread choice affect the outcome of a sewing project?
A: Yes, selecting the wrong thread can lead to mishaps such as seam failure or visible puckering. Match your thread to the fabric's characteristics, and consult fabric guidelines or conduct research for the best results.
Q: What factors should I consider when selecting a zipper for my sewing project?
A: When choosing a zipper, consider its material, length, and the fabric you're working with. The zipper should complement the fabric's weight and texture, and its length should suit the particular needs of the item you're creating.
Q: What's the difference between plastic and metal zippers?
A: Plastic zippers are lightweight and available in many colors but can be less durable than metal ones, making them suitable for lighter fabrics. Metal zippers are strong, offering a classic look ideal for jeans and outerwear, but they can be heavier and prone to corrosion.
Q: How should I match zipper material to fabric type?
A: The zipper material should match the fabric type: sturdy materials like denim benefit from metal zippers, while delicate or stretchy fabrics work well with plastic zippers due to their flexibility.
Q: Are there specific zipper types for different garment functions?
A: Yes, the function of the garment should inform the zipper choice. Heavy-duty items typically need strong metal zippers, while garments that require subtlety, such as evening gowns, are better suited to plastic zippers.
Q: Can the type of zipper teeth affect my project?
A: Definitely. The size and type of zipper teeth (coil or chunky, visible or invisible) determine the zipper’s functionality and the overall look of the item. Choose based on what best suits the needs and aesthetic of your project.


