How to Personalize Your Jackets and Coats for the New School Year
2022-08-04
Everybody likes to start the new school year on the right foot, and one of the best ways to do so is to step onto campus feeling confident with customized clothing pieces. Plus, you’re sure to earn some campus cred with your school’s logo embroidered right on your jacket!
School apparel can be expensive, but with some DIY know-how, a customized jacket or coat doesn’t need to break the bank. Here are the supplies you’ll need for jacket customization with your sewing machine, along with a guide on how to create your custom coat step-by-step.
Supplies You’ll Need for Jacket Embroidery
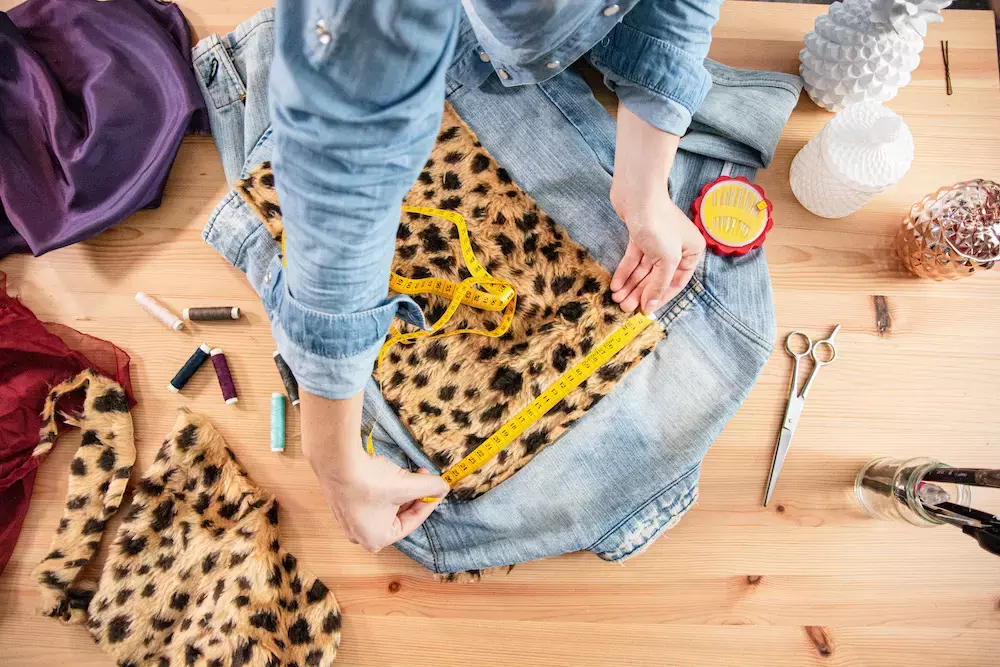
Embroidering a jacket with your favorite school logo isn’t difficult, but it does require some specific tools. Here are some of the supplies you’ll need to get started:
Sewing machine
Embroidery thread
Embroidery needle
Fusible stabilizer
School decal or logo printout
Marking tool
Now, let’s get crafting!
Step-by-Step Instructions
Once you’ve printed your decal and have decided where you’d like to place the embroidery on your jacket, mark the design’s center line with your marking tool.
Using the specific directions included on your specific fusible stabilizer, adhere it to the inside of the jacket where you plan to embroider. Then, choose the smallest possible hoop size for your design choice and hoop a stabilizer piece. Score the front with a pin and remove the sticker paper.
Line up your jacket where you’ve marked it with the stabilizer lines and press gently.
Set up your sewing machine with the embroidery needle and thread and place your coat and hoop into it. Make sure your design is loaded into the machine and that it is rotated correctly to match your coat’s orientation.
Arrange the needle to be aligned with the center of the area that you marked with your tool. Remove any leftover templates and begin embroidering.
Once the embroidery is complete, take the hoop off of your sewing machine. Release the stabilizer from the hoop and pull it off the jacket gently.
Using embroidery scissors, trim the stabilizer at the back to a shape that’s just larger than the embroidery itself. To prevent skin irritation while wearing the garment, you can add a layer of embroidery backing or interfacing, too.
Find All of Your DIY Crafting Needs at Goldstar Tool
Ready to go back to school in style with one-of-a-kind garments? You can fulfill all of your DIY sewing and crafting needs with ease at Goldstar Tool.


