Summer Blanket DIY! Great for Picnicking
2022-07-07
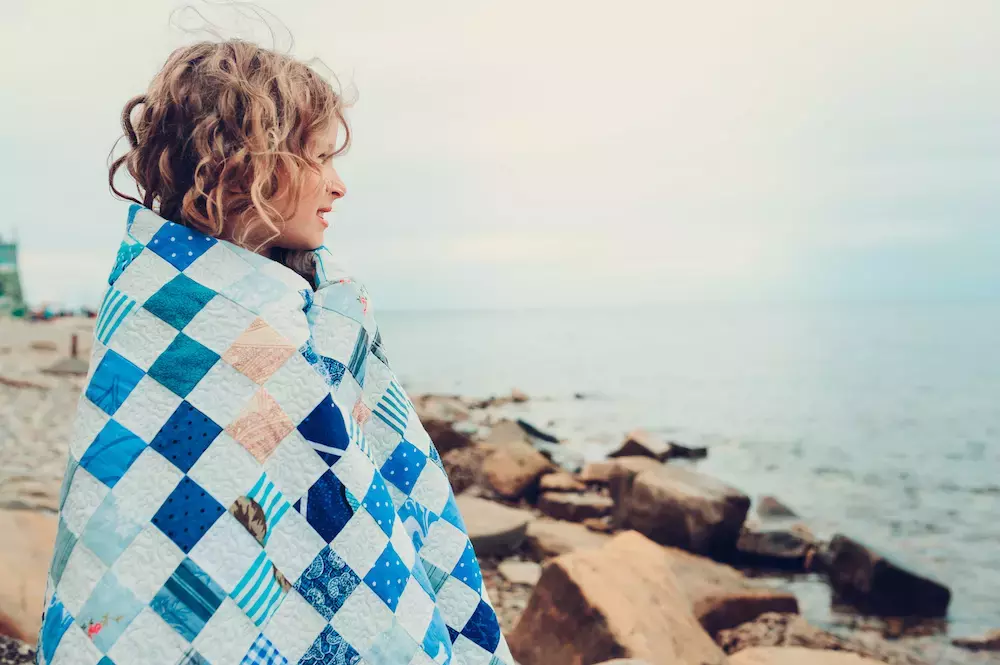
You can express your style and individuality anywhere. If you like taking picnics, you don’t want to use any old blanket. How about a homemade summer blanket? That sounds much more fun! And how about making it a quilt, too? A little patchwork color is a classic summer touch! So what will you need to make this picnic quilt a reality?
Get Your Materials Ready
Get quilt patches — enough to make a square about 4 feet by 4 feet. There’s going to be some space in between, so the blanket will be a little bigger ... don’t worry, we'll explain. You’ll also need 2½-inch by 60-inch strips of cotton and a large piece of flannel that’s at least 60 inches by 60 inches. Got all that? Awesome.
Assembling the Pieces
Arrange your quilt patches in 3-inch by 3-inch squares. You should have 16 of them. They will become larger quilt blocks that are 12 inches square. Stitch together along the back and press when finished.
Once you have your 16 quilt blocks, lay them out in a giant square. Take your strips of cotton and lay them in between horizontally. Stitch from the back and press. You should have 2 inches of cotton strip visible from the front with the other ½ inch stitched to the quilt blocks on the backside. Press.
Cut strips to fill the vertical gaps between quilt blocks and sew, just as you did for the horizontal strips. Again, press. Your giant square will now be sewn together!
For the back, take your flannel and lay it down. Put the quilt on top. Double-check that the right sides are together. Also, make sure the flannel is cut to the exact size of the top.
If you’re going to include batting, cut it to size, too. Make sure the top has the sewn side up and pin it to the flannel around the edges. Sew around the edges except for about 6 inches. This will leave you with enough space to turn the blanket right-side out. Use your judgment on the seam allowance.
Once you turn the blanket right-side-out, press around the edges. Fold in your 6-inch opening and press. Now, sew the opening shut.
Once you’ve finished this step, take some large embroidery floss and create a stitch every 4 inches to keep the front and back layers together. Don’t connect the stitches; just make a single stitch at a time, tie off the floss, and trim it to keep it neat. Then, enjoy your newly made summer blanket!
A Blanket Statement: GoldStar Tools Is Your Source for Sewing Supplies
Everything you need to make your sewing projects a smashing success is at GoldStar Tools! Contact us if you want some advice or need to get pointed in the right direction.


