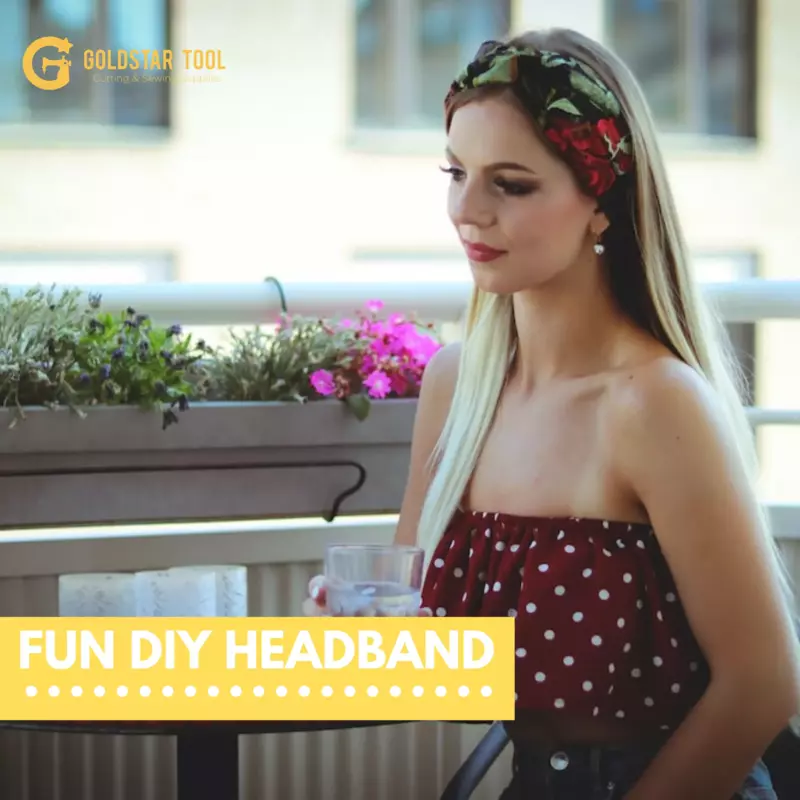
Fun DIY Headband
2020-07-29
Sewing a headband is not only fun, but a great way to spiff up your accessories drawer! Or, make a ton of these in different colors and patterns for your little one. This craft is a great first DIY project as it's easy and can help you get better acquainted with working with fabric and a sewing machine. However, it's a great point of reference for more advanced sewers, which may haven't worked on a headband before!
Perhaps the most significant thing about this headband is that there's no elastic, which can be a real pain. Instead, the only thing you'll need is a knit fabric.
Step One: Cutting
Cut the fabric into two strips of 29-inches long and two ½-inches wide. The most important thing to consider when cutting with knit or jersey stretch fabric is that you cut in the long-side direction. The point of knit fabric is to stretch and replace the need for the elastic because it should reach longways.
Step Two: Line Up and Sew
The fabric strips should be placed on top of the other with the right sides facing. A great way to take these headbands to the next level is to use complimenting fabrics and make the headband reversible.
Sew the fabric strips together and leave an inch and a half gap in the middle of one of the long edges.
Step Three: Turn and Press
Turning is always a fun step when it comes to headbands because now it looks like a headband, well almost. Ensure that when you're done turning that you give it a good press, flatten all the corners.
Step Four: Close Up and Wear
Close up that gap either with a few hand stitches or with a straight stitch on your machine. Then to wear, all you need to do is tie them up. Not having elastic does mean that you'll need to tie these each time you wear them, but it also helps them last longer in the wash because they're not bunching up and turning!


