Make Matching Aprons for You and Your Child!
2020-07-15
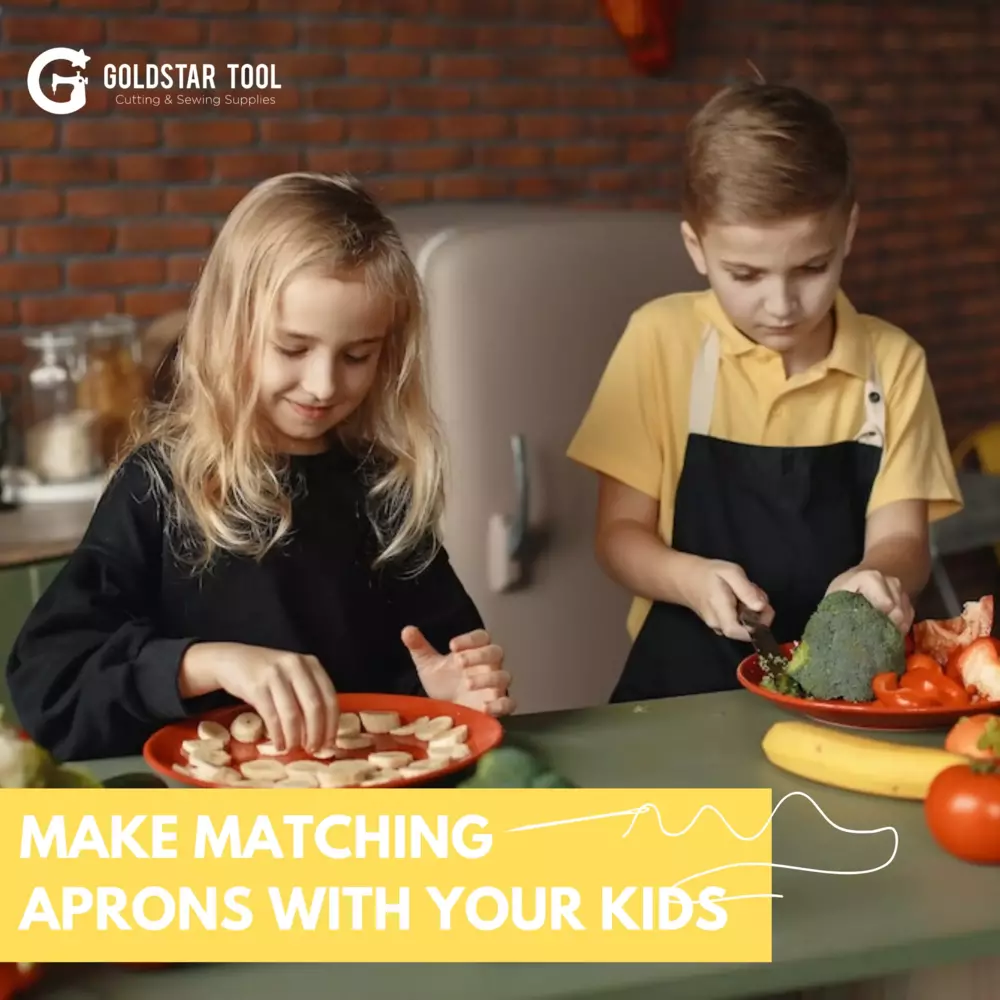
Moms like to match. There, we said it. So plan a day for making matching aprons for you and your little one so that you can have endless fun in the kitchen together! This easy project is a great way to get back behind your machine and even encourage you to spend more time in the kitchen.
The child's size should fit most children between three and six, but you can always add a bit of length or width to accommodate your child's size. The adult size is the fairly standard "one-size-fits-most" apron measurements, but again, modify the length or width to create something that's comfortable for you.
Materials:
This project doesn't call for many materials, which is great!
Child apron:
- ½ -yard of any cotton fabric – for reversible aprons use two different materials.
- 15-inches of ¾ -inch thick elastic. (This is enough for both
- 2-inch length of hook-and-loop fastener (sew-on)
Adult apron:
- ¾ -yard of cotton fabric – again, two patterns for reversible plans.
- 2-inch length of hook-and-loop fastener (sew-on)
The Pattern:
For the child's apron, you'll want to create a pattern on paper (two-pieces taped together) that measures:
- 18-inches down the longest side
- 7 ¼-inches across the "bottom."
- 4-inches across the "top."
- For the second "side" you'll need a bit of finesse. Measure up 10-inches, then measure inward to indent by 3 ¼-inches, upward again by 8-inches. You'll gradually slope from the "top" to the place where the indent occurs along this edge.
For the adult pattern you'll use:
- 32-inches down the longest side.
- 13-inches across the "bottom."
- 5 ¾ -inches across the "top."
- 13-inches upward, indent by 4 ¼-inches, upward again by 19-inches.
Step One: Cutting
Using the pattern, you'll want to fold your fabric in half and cut along the pattern. You'll do this twice, once for the front of the apron and then once for the back. Pin those and then tuck it away with the right sides facing. Then, you'll need to cut the straps.
The neck-straps will need to be 24-inches by 3-inches and require one strap cut to this length per apron. Each neck strap will need a 15-inch long strip of elastic.
For the child's waist strap, you'll want to use one strip of 18-inch by 3-inch material. For the adults, you'll want to measure your waist, add about two-inches for allowance, and use the same 3-inch width.
Step Two: Making the Straps
To make all of the straps, you'll want to press the long edges together (hotdog style) and sew them with a ¼-inch seam allowance. For the neck-straps, you'll need to sew the long sides and then feed the elastic in and secure it with a pin on both ends.
To finish each strap, turn the short edges slightly inward and then finish them with a straight line by stitching straight across.
Step Three: Attach the Straps
Secure your straps into place by pinning them in the layers of the front and back of the aprons. The neck strap will get secured on both ends, but the waist strap will only be pinned into one side of the apron.
Step Four: Sew Everything Together
Tuck the straps inside and then sew around the edges of the apron with a ½-inch seam allowance. You will need to leave the bottom of the apron open for turning, but keep the seam folded.
Step Five: Clip and Turn
Before you turn this project, you'll want to trim down and clip the corners. This step will help reduce bulk and pulling. After you finish the project, you'll want to give all the edges a good press and finish the bottom opening.
Step Six: Waist Enclosure
It's a pain trying to get little ones to stand still long enough for a proper bow, so skip the bow and use the hook and loop closures! Sew the two-inches onto the edge of the waist strap and then onto the apron. It can be on either side.
Now you have personalized kitchen gear for you and your kitchen helper!


