Baby Quilt for Beginners
2020-11-05
Without a doubt, a baby quilt is the best option for a first-time quilting project. It’s even a fantastic way to get familiar with your sewing machine if you’re new to sewing in general. It’s easy, and you get a quick payoff, as this project shouldn’t take too long.
Now, to be fair, we are somewhat reasonable with a baby quilt. Are you going to spend hours carefully crafting tiny squares that tell a story? No. You’re going to start small and simple to build up the skills that will have you crafting beautiful quilts.
Even absolute beginners should be able to finish a baby quilt in just a few hours. After some practice, you can likely turn out these quilts in one or two hours!
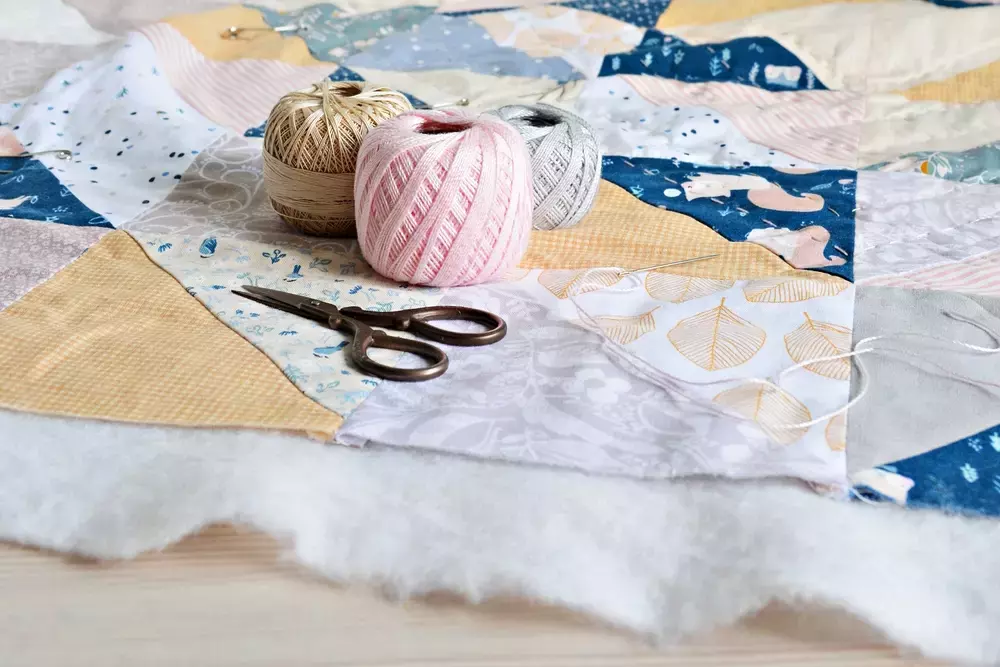
Materials
The materials are straightforward, but we’ll dive into each just to make sure we cover the basics.
Fabric - Quilters prefer 100% cotton or quilters cotton. It holds up well for years and is surprisingly affordable. If you want a variety of colors and patterns, you might opt for a jelly roll. A jelly roll is a package of prints and sometimes solids that are cut into 2.5” by 42” strips and rolled together. These prints and patterns complement each other and often follow a theme. If you want only two patterns or colors, you can purchase two squares of cotton that are the same size and call it a day.
How much fabric will you need? That depends on the size of your quilt. Most baby quilts are:
- 36” by 36”
- 40” by 40”
- 44” by 44”
If you choose to use a jelly roll, you’ll be best off shooting for a 40” x 40” quilt. However, if you’re buying loose fabric, you can ask for what you need. Always make sure that you buy a back for your quilt. If you used a jelly roll, then consider using a solid color stretch of quilters cotton for the back.
Batting - Quilting batting is the inner material for any quilt. It is what makes quilts “just right” in both the summer and the winter. Get just enough to make your quilt.
Double-Sided Bias tape - Bias tape is what will encase the raw edges around the outside of your quilt. It makes it look professional, finished, and helps ensure the quilt doesn’t fray.
Choose a color that matches or compliments the patterns or colors you use in your quilt.
Thread - For quilting, you’ll want a thread that will subtly fit in with all the different colors and patterns. Or, you can be bold and choose something that dramatically contrasts the color scheme.
Pins or Clips - Every sewer should have straight pins in their box, but clips are an excellent option for edges and much easier to handle than pins!
Chalk or fabric marker - You don’t need fancy chalk. Chalk will wash off. But, you can use the Tailor’s chalk or a fabric marker.
Ruler - super simple, just a ruler.
Cutting tools - You can use fabric scissors or a rotary cutter and cutting mat. The cutting mat is crucial because you will destroy anything under the fabric if you don’t have a cutting mat.
For a 40” x 40” baby quilt, you’ll need:
- A jelly roll or 1 ½ yard of fabric (more is always better than less) - Get the same size of material for the quilt’s back.
- Scissors or rotary tools
- Chalk or some type of fabric marker
- Ruler
- Pins or clips
- Thread
- Sewing machine or quilting machine
- Double-sided bias tape
- Batting (equivalent to the volume of fabric)
- Backing fabric.
Instructions
If you did not use a jelly roll, then cut your fabric choices into strips that are about 2- 2.5” wide. Then you can get started with the instructions below:
- Layout your strips how you want them to look for the finished quilt with the ‘wrong sides’ facing down. When you’re done, it should look like the underside of all the fabric.
- If necessary, trim your strips to the appropriate length.
- Take your first two strips and sew one of the long sides together. This doesn’t need to be perfect. Use a 1/4-inch seam allowance. For texture, you can fold and press the ends together so that the unfinished edge will have an exposed ruffle on the quilt.
- Continue to take the ‘next’ strip in your pattern and sew it onto your work’s bottom. Do this until you have a finished quilt top.
- Lay the top of the quilt face down, then layer (sandwich) the batting and finally the backing “right side” facing up. You will not ‘turn’ this project!
- Use pins or clips to secure all of the edges together.
- Take your ruler and marker or chalk and start marking lines every 4-inches down each side. Then, lay the ruler out and connect all those lines.
- Use pins to secure a few areas in the middle and use those lines as a guide. You don’t need to pin everything, but maybe pin every 4 or 5 inches.
- Use a sewing machine or a quilting machine to sew over the lines you drew. Remember to remove your pins as you go.
- Now, to tackle those raw edges! Lay your bias tape out, so the top lines meet the edges of the quilt. Then, pin the bias tape down. Sew the bias tape into place, and fold over the edge.
- Sew over this edge of the bias tape with a straight stitch.
- Complete for all four sides, and you’re done!
Baby quilts make great gifts, but they’re also a great way to fill up time and feel accomplished. If you’re nesting, keep in mind that you may need a handful of quilts as they’ll get dirty, and it seems like you can blow through a few in just a day. You might have the opportunity to donate these as well. Check out your local resource centers for expecting parents and hospitals to see if they take handmade donations!
If you enjoyed this tutorial, check out our blog for more tutorials and guides on sewing projects! If you try one of our projects, tag us on Instagram. We love seeing everything our customers create!


