DIY Trick-or-Treat Basket
2019-10-18
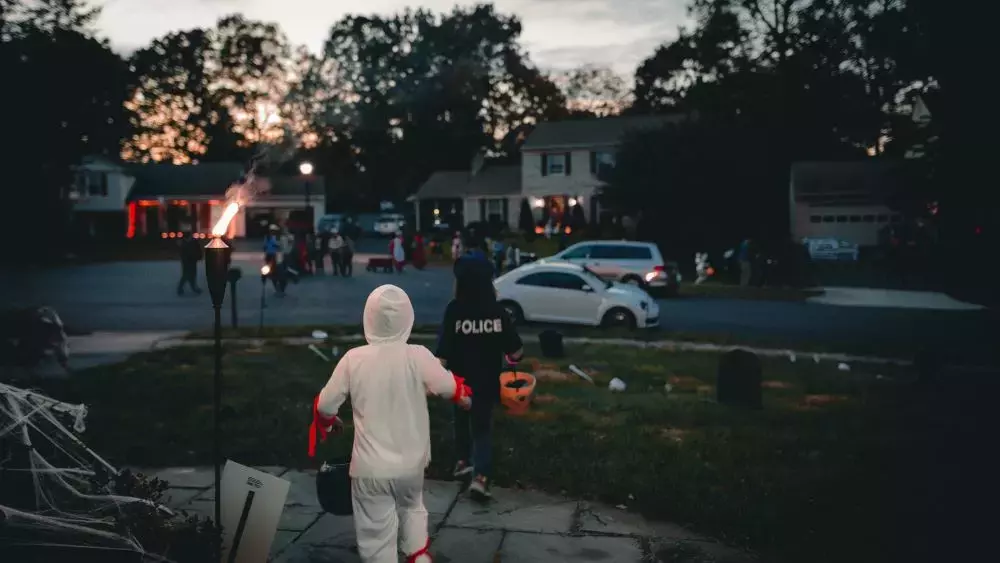
Halloween is upon us, and if you haven't already gotten out and bought the kids treat bags, then you can make a frightfully beautiful trick-or-treat basket. This basket is the perfect way to put in some DIY flair even when the kids are opting for less than creative costumes. It's also an excellent way to ensure that they have more than enough room for their candy haul.
Materials
We love small and straight to the point material lists. The materials you need for this bag couldn't be any more straightforward. You need 3/4 yards of fabric for the bag itself, and 1/2 a yard of fabric for the lining.
Halloween prints are positively the best thing, and fabric stores nationwide have massive sales throughout October. Take the chance, or excuse, to bulk up on your stash. Get some great fabrics and make sure that they're fun enough for your kids to enjoy it too!
Step One: Cutting
So, you’re only going to make a few cuts. But, in the mode of safe and well-planned projects, step one is all about cutting out your pieces.
Initially, you need to cut two pieces for the body of the bag. Measure and cut two 13.5-inch by 11.5-inch pieces. Then cut two 16-inch by 2.5-inch strips for the straps. Finally, cut two more rectangles of 13.5 inch by 11.5-inch pieces for the inner lining.
Step Two: The Straps
I know everyone wants to skip ironing, but it's essential with straps. It gives them a subtle finish, and it can help you make the most of your fabric. Press down a quarter-inch seam allowance towards the wrong side, running down the long edge. Do this for both fabric strips.
Then fold the strips in half “hotdog” style and topstitch them closed.
Step Three: The Body
Take your two body pieces and line them up with the right sides touching. Then pin, clamp, or clip them together and stitch with a quarter inch seam allowance. You want to stitch down the sides and bottom but leave the top open.
Step Four: The Lining
The lining is something that makes a lot of beginners nervous. Take a breath and know that you and your sewing machine will be okay. Start with the same process that you used for the body of the bag.
Line up the interior pieces, pin them, and stitch along the sides and some of the bottom. You want to leave the top open for obvious reasons, but you also want to leave about 4-inches open across the bottom for turning within the bag.
Step Five: Make it Square
It's the most exciting part, so get your sewing machine ready. Take your lining and the body fabrics, and you'll be doing the same steps for both sets of material.
With each set, take your bottom seam and make it “boxy.” Or, pull it forward until the seam comes together in front of you and makes a “peak.” Then, stitch a straight line two inches from the top of the peak and cut off the extra triangle.
Step Six: Finishing the Body
Turn your lining so the right sides are facing out and then insert it into the main body. The body should have the wrong sides out, so all the right sides are facing each other, lining against the bag body — pin along the side seams.
Be sure to push out all of your corners for the best box-effect. Then pin your straps into place. A great trick is to pint the straps between the body and the lining, so they stick out without any raw edges.
Pin across the top, and then stitch along the top of the bag with a quarter seam allowance. Your straps should lock into place here also, finishing the top of the bag.
Finally, remove any pins and turn your bag. Everything will turn through the 4-inch gap you left in the lining of the bag. The lining and exterior only connect at the top of the bag.
Now you and your trick-or-treater can have a great time prowling the streets!


