Do You Need a Grommet Tool to Install Grommets?
2023-04-06
If you’re looking for new and exciting ways to elevate your DIY sewing projects, you may be considering adding grommets to your next piece.
Grommets are round metal pieces that help to reinforce intentional holes in your garments or accessories. The most common places to see grommets are curtains, drawstring pouches, tents, and bags.
On curtains and tents, grommets connect the fabric to the curtain rod or the tent stakes. Grommets usually hold some kind of string enclosure for bags and pouches.
The grommet is made up of two distinct pieces, which are the grommet itself and the washer. These two pieces connect on either side through the fabric they’re applied to, to ensure stability. Grommets and washers come in a variety of sizes to fit any project.
Grommets vs. Eyelets
You may have noticed that grommets and eyelets look very similar. Though grommets and eyelets are often mistaken for the same thing, there are a few key differences between the two.
Grommets consist of a grommet and washer, while eyelets are just one connected piece of metal. Additionally, grommets are always larger than eyelets and are used when greater reinforcement power is needed. That’s why you’ll rarely see eyelets used on curtains, tents, and other items that carry heavy weights.
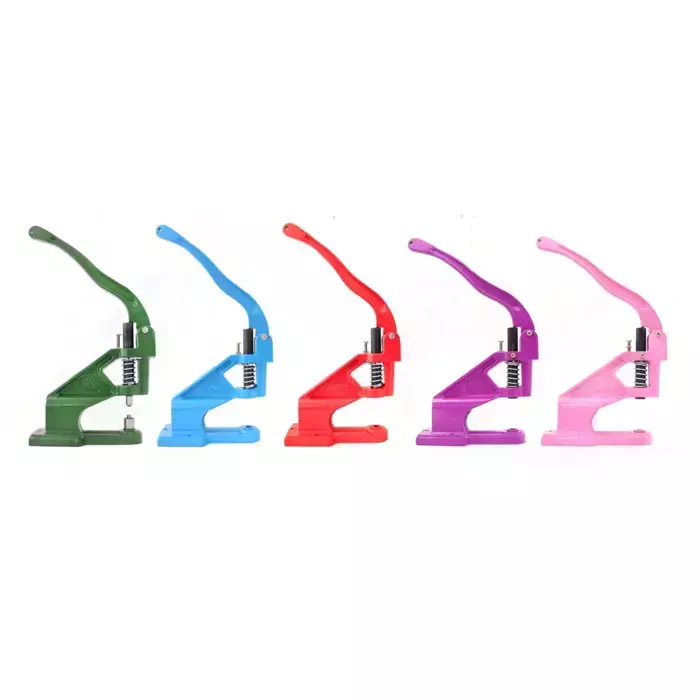
Grommet Tool Kits: The Best Way to Use Grommets on Your Sewing Projects
How can you install grommets now that you’ve chosen to use them on your next project?
You could probably install grommets without specific grommet tools if you have enough experience using them, but grommet tools are highly recommended if you’re just starting out. Even advanced sewists will notice a much quicker and easier workflow when using grommet tools for their grommet installation.
Grommet tool kits are recommended for anyone installing grommets on their sewing projects. These kits come with three distinct grommet tools: a hole punch, an anvil, and a grommet setter.
These are used to create the proper-sized hole for the grommet, firmly place the grommet piece where it needs to be, and rivet the washer on the other side so the grommet doesn’t come undone.
Grommet tool kits also have plenty of grommets and washers to use in multiple projects. Remember that you’ll need a hammer in addition to your dedicated grommet tools.
How to Use Grommet Tools
To begin installing your grommets, place your fabric on some scrap wood and mark where you want the hole to be. Then, place your hole punch over the mark and strike it with a hammer. The hole punch in your tool kit will automatically match the sizing of the grommets from the same kit.
Insert your grommet into the hole with the smooth side out. The stem of the grommet should be poking out of the back of the hole and protruding by about a centimeter. This is when you’ll take your washer and place it over the back stem of the grommet.
Now, place your grommet front side down onto your anvil. Make sure the washer is firmly on the grommet stem and facing up. Place your setting tool onto the washer and pound it down with a few taps from your hammer.
Reinforce Your Grommet
Your grommet and washer should now be firmly connected to one another. You can test the sturdiness by hanging something heavy from the piece of fabric using the grommet. It should hold very well as long as you use your grommet tools correctly in the installation process.
If you’d like to make sure your grommet is extra-reinforced, you can add interfacing on the back of the fabric. Depending on the size of your grommet and the amount of weight it will be expected to carry, you may not need much more than one piece of medium-weight fusible interfacing. Canvas also works as a great reinforcing fabric.
Find Grommet Tool Kits and More at GoldStar Tool
Ready to upgrade your DIY projects with specialized tools like grommets? You can find everything you need at GoldStar Tool, including grommet tool kits, fusible interfacing, the best fabrics for easy and sturdy grommet application, and so much more.


