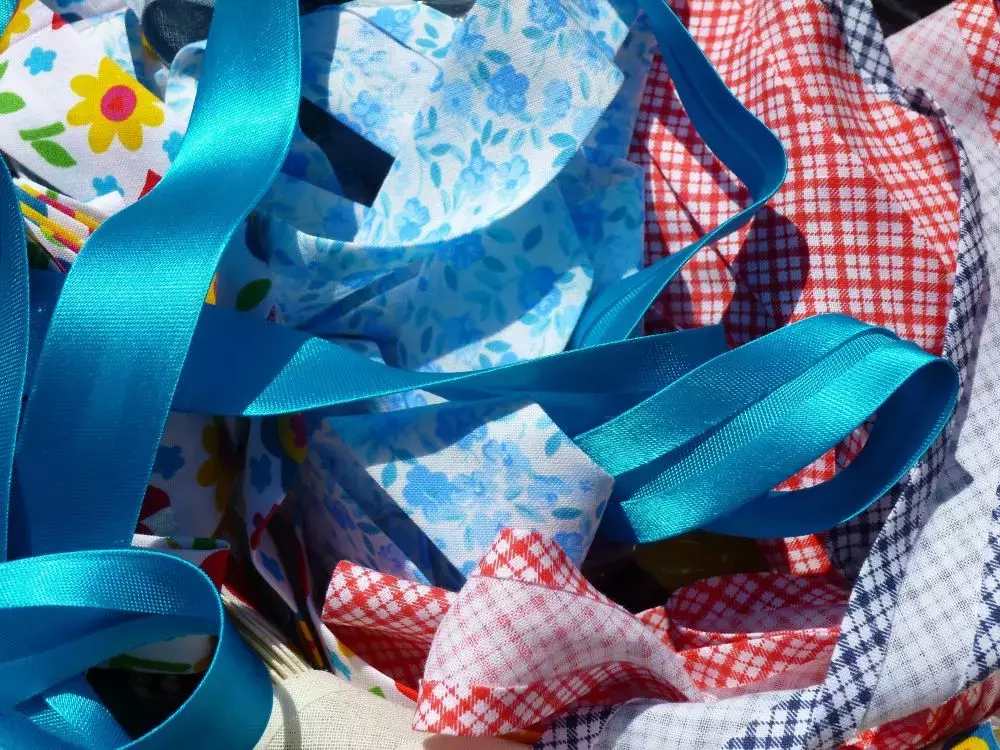
How to Make Bias Tape with a Bias Tape Maker
2020-02-17
Learning how to make your bias tape can save you tons of money over the years. While bias tape isn't that expensive, it's a pain trying to find bias tape that matches your project in the right size and such. Making your bias tape gives you total control, and having complete control over your project is something every sewer should strive for.
What Does Bias Tape Do?
If you're new to sewing, then bias tape is a bit confusing. It’s not actual tape, and there is no adhesive. However, it serves the purpose of covering the raw edges on a project and gives a decorative element too.
You’ll find bias tape used on quilts, clutches, finishing seams, necklines, and more. There are two types of bias tape: single-fold and double-fold bias tape. A single fold bias tape has two edges folded together into the middle. Double fold bias tape is folded once more, which brings in all the raw edges. A double fold is most common for necklines and armholes, and many sewers prefer the look of double bias tape.
Step One: Locate the Bias
First, you'll want to remove the selvage or work on the other side of the material. That selvage keeps the fabric far too tightly woven and won't offer the stretch that you need for bias tape.
Keep in mind that the stretch part of your fabric will be away from the edges. If you have large squares in your fabric stash, they could serve for good bias tape material, or even just for testing it out.
When you have your square that is selvage free, take the edge of your fabric and fold it inward to make a triangle. You’ll end up with a 45-degree angle.
Step Two: Cut and Join Your Bias Strips
There is always some math involved in making bias tape. Fortunately, it's pretty simple. For single fold bias tape, you want to double the size of the finished bias tape. For example, if you are making 1-inch bias tape, your strips will need to be 2-inches wide.
Now, cut with that in mind. However, as you’re cutting diagonally across a square, you'll notice that each piece ends with a sharp 45-degree angle. That's important because that's how you'll be joining these strips and get the most out of your fabric.
For joining the strips, you want to take two pieces that have ends going in the same direction. With the right sides together, you'll make a small backstitch to join that edge.
Step Three: Using Your Bias Tape Maker
Bias Tape Makers are handy tools that are so simple to use! They come in millimeter sizes, so be sure to get the right size that you prefer to use or need for a project. Once you have the right maker, you feed the well-pressed fabric for the bias tape into it.
You’ll see a small bit of fabric poke out from the end of the bias tape maker, and you’ll want to give that a pull. Next, have your iron handy, and as you pull that bias tape out of the maker, you'll want to give the fabric with a good press.
Be sure to use the handle on the bias tape maker to slide it back quickly as you iron the fabric that comes out of the maker. Always watch your fingers, especially since the iron is so close! You do want to keep the iron almost flush with the bias tape maker because you don't want to give the fabric a chance to unfurl.
For double-fold bias tape, you fold your single fold bias tape in half and press again. When working with bias tape on a sewing machine, you use both in the same way. The only difference is that a double fold has no raw edge, making it a preference for many sewers.
Ready to make your own bias tape? GoldStar Tool has bias tape makers so you can have complete control over your bias tape, and your entire project!


