Make Fun Tote Bags for Your Kids!
2021-06-10
Planning fun activities to enjoy with your kids—such as going to the library—is always a great time. What’s less exciting is realizing your little ones have no way to carry all of their new books home.
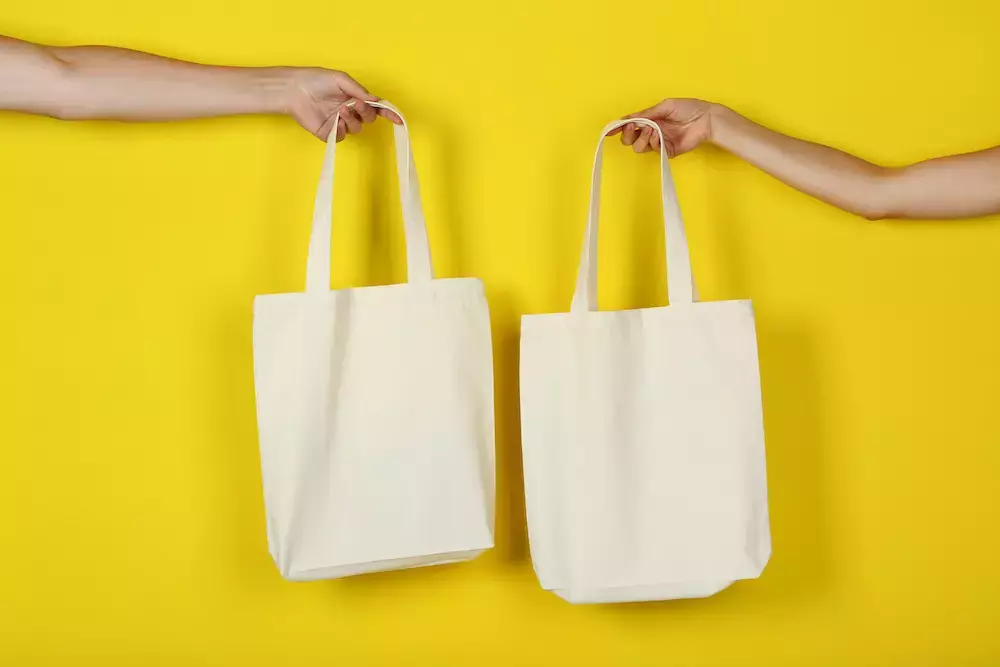
This DIY tote bag for kids is a simple, efficient, and adorable solution for this type of problem. While it’s designed to fit books, it can also be your kid’s go-to bag for the beach, a playdate, or any other adventure!
There’s no need to be an expert with the sewing machine to make an awesome personalized tote bag for your young one. This project is very simple and requires only basic sewing skills.
Materials You’ll Need to Make Your Kid’s Tote Bag
DIY tote bags will get your kids excited to be responsible and carry their own personal items. To customize the tote bag, you’ll need the right materials. Choose fabrics and patterns your kids will love!
Be sure to gather:
- 24 x 44 inches of outer fabric
- 24 x 44 inches of inner fabric
- 24 x 44 inches of fusible fleece interfacing
- A pair of scissors
- Sewing machine
- Pins
- Iron
- Ironing board
Once you have your materials gathered, you’re one step closer to giving your kids a tote bag design that really grabs them—so much so, they’ll be eager to hold it and carry it around with them everywhere!
Step-by-Step Instructions
- Cut two pieces of the outer fabric that each measure 13 x 15 inches.
- Cut two pieces of inner fabric that each measure 13 x 15 inches.
- Cut two pieces of outer fabric to work as the straps that each measure 4 x 27 inches.
- Cut two pieces of fusible fleece interfacing to match the dimensions of the straps.
- Iron the interfacing to the strap fabric to fuse them together.
- Stack the two large pieces of outer fabric so that the right sides are together. Next, grab the sewing machine and sew around the sides and along the bottom.
- Repeat step six for the two pieces of the inner fabric.
- Grab the straps with the interfacing fused to the underside and fold each in half, so the right sides are touching before sewing up the long side.
- Turn them right side out and then press them with an iron, so the seam is in the center back.
- Grab the inner fabric pieces that are sewn together and turn them right side out.
- Slide the inner fabric into the outer fabric pouch, so the right sides are together.
- Slide the straps between the two layers of inner and outer fabric on both sides and pin them in place.
- Sew around the top of the tote leaving a three- or four-inch opening.
- Turn the tote bag right side out through the opening before pressing and stitching the opening closed.
Once the finishing stitches are in place, this kid-friendly tote bag is good to go!
Goldstar Tool
This tote bag is an easy way to lighten your load, and little ones are sure to love using them, too! When you’re looking for materials to get crafting one of your own, reach out to Goldstar Tool. We can’t wait to see your finished product on our Instagram and Facebook.


