Make Your Own Yoga Bag
2021-06-17
Yoga is an amazing way to calm your mind, improve your balance, and focus on breathing to get you through the chaos of daily living. If you’re an avid practitioner of yoga, it’s also lifestyle, which means lots of yogis eat, sleep, breathe, and dress yoga.
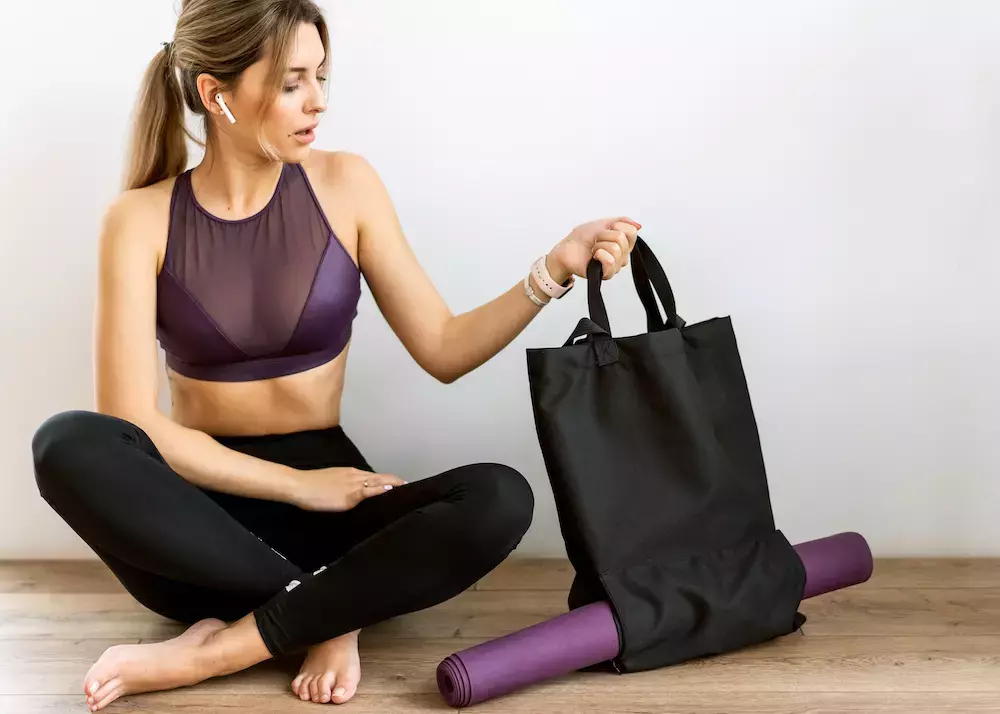
Every good yogi knows you need something stylish yet simple for totting your yoga mat to the studio. If you don’t want to spend too much on a yoga bag, creating one of your very own is a great option. This DIY version boasts a simple, eye-catching, and completely manageable design, even if you’re a beginner with a sewing machine.
Materials You’ll Need
Along with your sewing machine, there are a few important materials you’ll want to gather to make crafting this DIY yoga bag as easy as possible. Be sure you have:
- Two yards of cotton duck or another medium-weight fabric
- A sewing machine
- Two yards of webbing for bag handles
- Straight pins
- An iron and Ironing board
- A pair of scissors
Once you have everything you need, you’ll be on your way to creating a one-of-a-kind yoga bag you won’t ever want to put down!
Step-by-Step Instructions
- Grab your scissors and cut two pieces of identical cotton duck or medium-weight fabric. Each should measure 21 x 27 inches.
- Stack the two pieces of fabric with right sides facing in.
- Sew around all four sides of the fabric parameter with a half-inch seam allowance. Leave an 8- to a 10-inch opening in the seam.
- Using this opening in the seam, turn the fabric right side out.
- Take your iron and press all the seams flat, which will ensure the excess fabric is tucked into the seam opening and aligned with the edge.
- Topstitch the complete perimeter, staying a quarter of an inch out from the edge all the way around.
- Cut two pieces of webbing so they’re 36 inches long each.
- Position a piece of webbing as a handle on each short edge of the fabric. The edges of the webbing should be approximately six inches from the fabric corners.
- Pin the straps in place on the fabric, then test it out by carrying the handles. Make length adjustments as needed.
- Once you’ve found the proper strap length, stitch the handles in place.
- Cut out four squares of fabric. These pieces should each be one and a half inches wider than the webbing.
- Press the edges of the fabric squares with your iron, then place one over each raw webbing edge.
- Topstitch around the perimeter of the fabric squares to secure them onto the fabric.
- Once the edges are covered, your yoga bag is ready to go! Wrap it around your mat and get ready to enjoy the class.
Goldstar Tool
This yoga bag is stylish and makes getting to class a breeze. If you’re looking for materials to craft your own yoga bag, reach out to Goldstar Tool. We’d also love to see your finished product on Instagram and Facebook when it’s ready!


