Common Crafting Tools and How to Use Them
2024-04-09
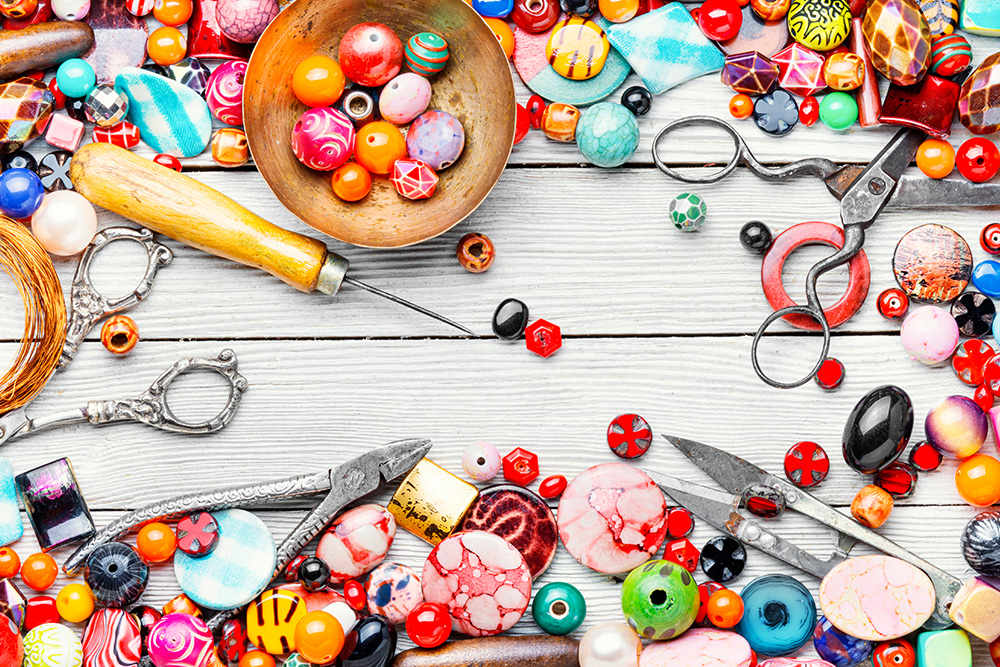
Crafting is an enjoyable hobby that can yield some incredible results when you do it right. You could create custom clothing pieces for yourself and your loved ones, useful household tools like bags or pillowcases, or one-of-a-kind home decor items that bring a unique flair to your space.
If you’re just learning how to use a sewing machine, it may feel overwhelming to learn just how many crafting tools there are available to you. Nowadays, the sewing machine is just the beginning, with a wide variety of additional items designed to help you work with tricky fabrics, create specific aesthetics or functions, or make your creations more durable and long-lasting.
Here is a rundown of a few different categories of sewing and crafting tools so you can understand their purpose and how best to use them. You may find that learning how to use these items will revolutionize your sewing abilities and allow you to create truly amazing pieces!
Essential Tools for Pressing and Ironing
Sewing shirts, skirts, pants, or other items with seams can be tricky. It’s important to get the seam right, or else the clothing item may not fit right or be uncomfortable to wear.
This is where pressing and ironing tools come in. Additionally, once you’ve created a perfect seam, your sewing notions are the key to a completely finished product. There is a small yet significant difference between pressing and ironing, and it's crucial to know which sewing notions to use in different contexts.
Pressing Tools
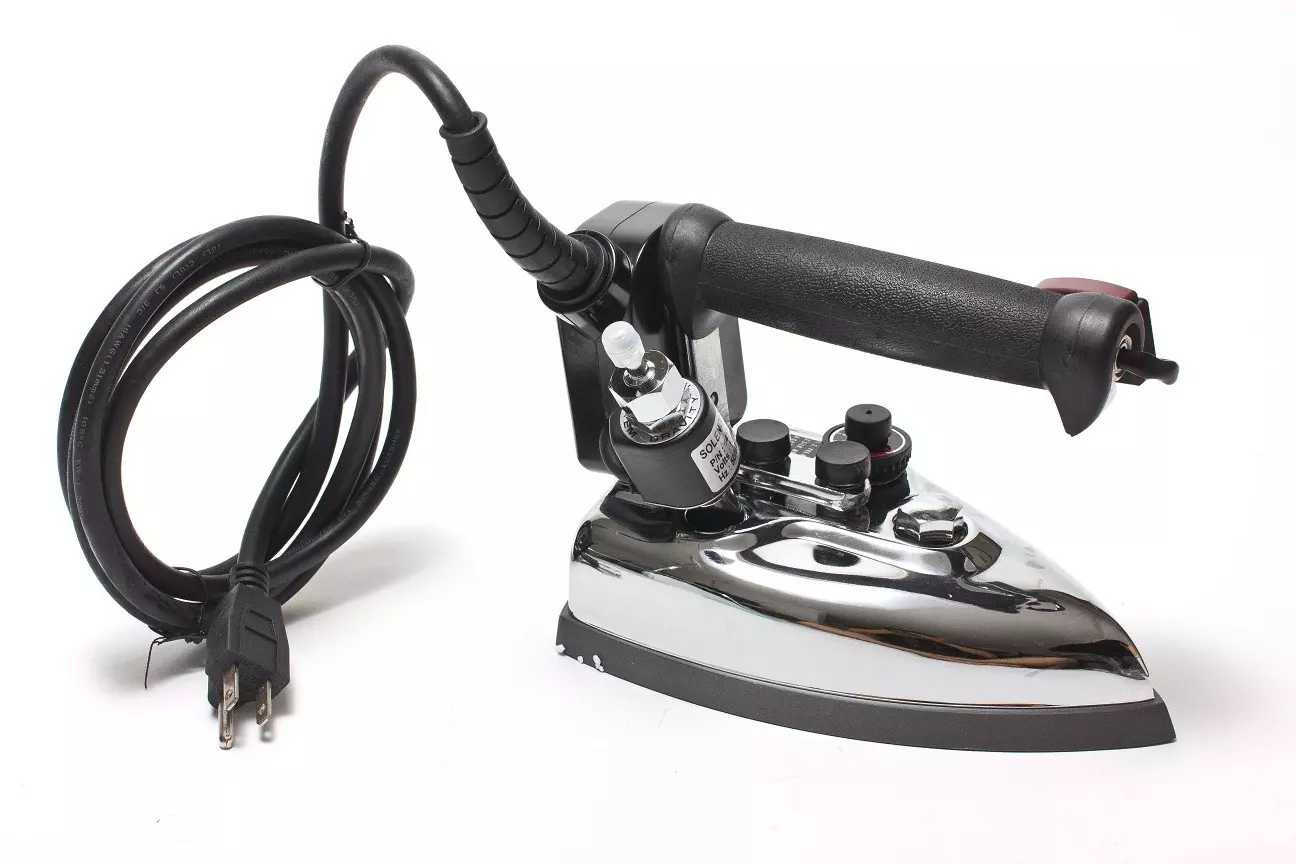
Pressing your seams is one of the most important parts of any sewing project. This action ensures that your seams are laying correctly and that they are securely adhered to prevent any ripping or tearing in the future.
The most common pressing tool is the iron, which makes the difference between ironing and pressing extra confusing. However, the iron’s heated platform makes for an excellent adhering tool. While you can use this item for a variety of sewing projects, the real difference lies in the other pressing tools that you incorporate.
Different items will have different types and sizes of seams. For example, a dress shirt will need stiff seams in certain areas to provide a sharp angle, but a skirt will need curved seams that comfortably hug the shape of the body without sticking out or irritating the skin. Having multiple tools on hand for pressing will make it easy to create a wide variety of items with perfect seams every time.
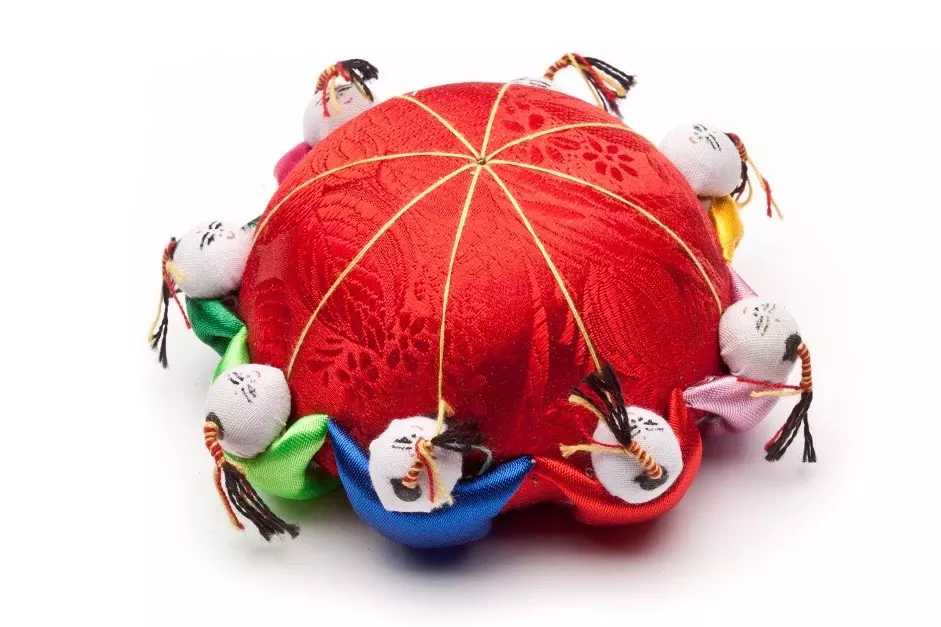
The tailor’s ham is a curved stuffed pillow that allows sewists to press seams in a curved shape, making them comfortable for wear on the body’s natural curves. Conversely, items with sharp edges, like the point presser, allow you to create stiff seams like those on a dress shirt’s collar.
Explore our wide range of pressing and finishing tools to explore other options and see what might work best for your projects!
Pressing vs. Ironing
Still not sure what the difference is between pressing and ironing? While both actions usually require an iron, the difference lies in how you use it. To press a seam, you apply the heat and pressure of the iron without moving the tool around. The intention is to lay the seam flat and help each fabric side adhere to the other in the way you want them to.
When ironing an item, the goal is not to affect the seam but to remove wrinkles from the face of the material. This is why you move the iron around the garment rather than applying it in one place.
Sewing Notions and Craft Supplies for Finishing
Even though sewing notions are typically small items, they are essential to creating functional finished products. Imagine your favorite shirt without its buttons or zippers. It simply wouldn’t be the same item!
Thread is considered to be a notion, and many of the most popular craft tools wouldn’t stay together without thread. This is why choosing high-quality sewing notions is so crucial — they play an essential part in allowing the item to be usable and hold up through years of use.
Buttons and Zippers
If you’re designing a shirt, sweater, pair of pants, or other garment that needs buttons or zippers, you may be thinking that any button will do. However, choosing the wrong button size or material could make your item frustrating or even impossible to use. Additionally, zippers are an advanced sewing notion that may be difficult to use with certain fabrics.
The goal when adding items like zippers and buttons to a craft is to make the finished product easier to use. These accessories can add to or take away from the aesthetic value of your garment. This is why you should consider your choices carefully when adding sewing notions.
Before choosing buttons, consider what color will match the item as a whole. Take precise measurements of the areas where the buttons will go to avoid choosing pieces that are the wrong size. Once you’ve attached your buttons to your garment using your sewing machine or sewing by hand, carefully create buttonholes that are the exact size to fit your buttons.
Your zipper attachment needs to be strong and impervious to ripping, which is why many sewists recommend basting your zipper to your fabrics before applying the permanent stitch. Basting is adding temporary loose stitches that will keep your materials connected to the zipper fabric while you stitch them with your sewing machine. Once those stitches are applied, you can pull out the basting stitches by hand.
Thread
The type of thread you use for a sewing project will make a huge difference in how it looks and how well the stitches stay together. The best way to ensure that you’re choosing the right thread is to consider the type of fabric you’re using and match your thread to it.
For example, cotton thread works best for natural materials like cotton or linen, while polyester thread might adhere better to synthetic fabrics like rayon or polyester. Choosing a high-quality thread brand is also an important step to ensuring a long-lasting finished product that won’t tear after a few uses. Make sure the thread you use is the right length and thickness for your sewing machine.
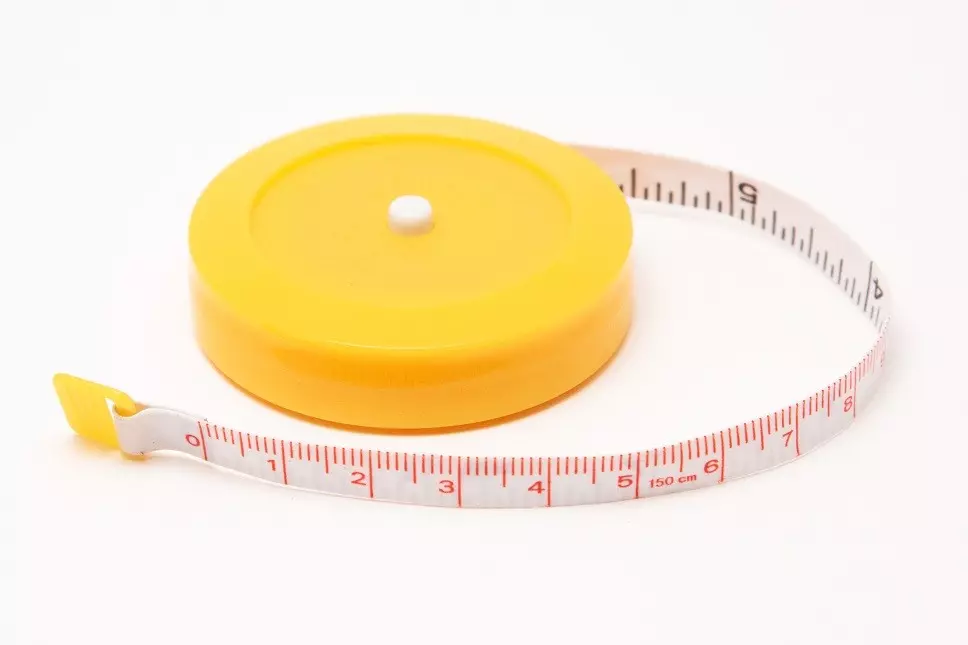
Measuring Tools for Craft Projects
Even if you have all the right tools for your crafting project, you’ll have trouble creating the finished product you’re imagining if you don’t have the right measuring items. Some of the most respected carpenters prioritize measuring over most other steps in the sewing process, as an improperly measured piece of fabric could throw off the entire garment.
Rulers
As you might expect, one of the best tools for measuring your fabrics and sewing patterns is the ruler. While you can use almost any ruler for standard line measuring, investing in a beveled protractor ruler or even a retractable measuring tape will likely make your sewing projects easier than a tool designed for measuring paper or other non-fabric items.
If you model your garments on a mannequin or person, a soft measuring tape will become even more essential. This will allow you to take measurements up to 360 degrees around, which a flat-edge ruler won’t be able to do accurately. You can also use French curve rulers, a flat-edge ruler with a curve at the edge, to measure necklines, bustlines, waistlines, and other curved areas on your garment.
Other Measuring Tools
As you’ll see when browsing our extensive selection of rulers at GoldStar Tool, there are so many different measuring tools you can use to cut and stitch your fabrics in detailed ways and perfect your garments.
While French curve rulers have an extreme curve at the edge, other options, such as a vary form curve ruler, have a slighter curve for projects that don’t have a significant deviation from a straight line. If you need to measure perfect circles for grommets and washers, a circle template is the right tool to have on hand.

Needles and Pins for Sewing Machines
Choosing the right needle for your sewing project is essential. If your needle isn’t the right type, it could break during stitching or apply uneven stitches to your material and waste fabric. Some needles are designed for thin, natural fabrics, while others can handle the load of thick, synthetic materials. Additionally, the thickness of your thread will also determine what size needle you can use.
Needles
Make sure you read your sewing machine’s manual to find out what types of needles you can use. Sewing machine needles range from size 60 to 110 in European sizing and 8 to 18 in American sizing. Additionally, some needles might need presser feet in order to properly apply the stitches your project needs.
Pins
Pins play a key role in preparing your sewing project for its final stitches. Even if your fabric is perfectly measured for your garment and your sewing machine is equipped with the right needle and thread, your finished product could be thrown off if your fabric pieces aren’t perfectly lined up with one another.
Invest in high-quality sewing and quilting pins that will keep your fabrics in place without leaving lasting holes. Once your stitches have been applied, you should be able to remove your pins without creating tears or noticeable openings in the fabric, as long as the right type of pin is used. Check out our vast collection of pins and needles for your sewing projects!
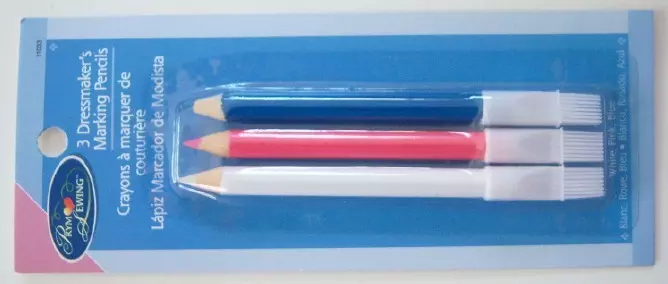
Chalk, Sewing Markers, and Other Supplies
Before you can get to the part where you’re stitching fabrics together with a sewing machine, you need the perfect cuts of material that will combine to create your garment. Measuring tools and fabric shears play a key role in this part of the process, but so do fabric markers.
These items can come as actual markers or in the form of colored pencils or chalk. The type of sewing marker you choose will depend on the material you’re using for your project and the color of the fabric. Even though fabric markers are designed to be erasable or washable, it’s best to pair your material with a matching sewing marker color, just in case.
Tailor’s chalk is one of the most popular options for marking fabrics, but it’s best for making marks that don’t need to be extremely precise. If you need to create a line for stitching or cutting in a small, harder-to-reach area, a fabric marker or pencil will be better suited. Make sure to invest in a high-quality fabric marker that doesn’t leave residual marks on your fabric once your project is done.
Getting Started With Simple Craft Ideas
Now that you understand a bit more about some of the common tools used for sewing and crafting, it’s time to get started on your next project. Luckily, we’re a one-stop shop for sewists and crafters at GoldStar Tool with a wide variety of DIY sewing and craft supplies.
Looking to create some homemade home decor items that will wow your guests? Check out our easy tutorials for DIY fabric curtains, outdoor cushions, or cotton storage bins. We break down the process step by step so that sewists of all experience levels can explore the wonders of DIY crafting.
If creating wearable garments is more your speed, we’ve got plenty of fun and unique ideas for clothing items that range from basic to extravagant. Most sewing machines will be able to handle simple jobs like stitching a summer skirt or infinity scarf, but you may need some additional sewing machine accessories to tackle items like puffer jackets or eye masks.
Find the Sewing Materials and Essential Craft Tools You Need at GoldStar Tool
As you can see, GoldStar Tool has everything you need for your next sewing project and much more. Explore our site to gain a deeper understanding of sewing and crafting tools so you can elevate your crafting game. You’ll find nothing but the highest quality sewing machine accessories and crafting tools when you shop with GoldStar Tool.


